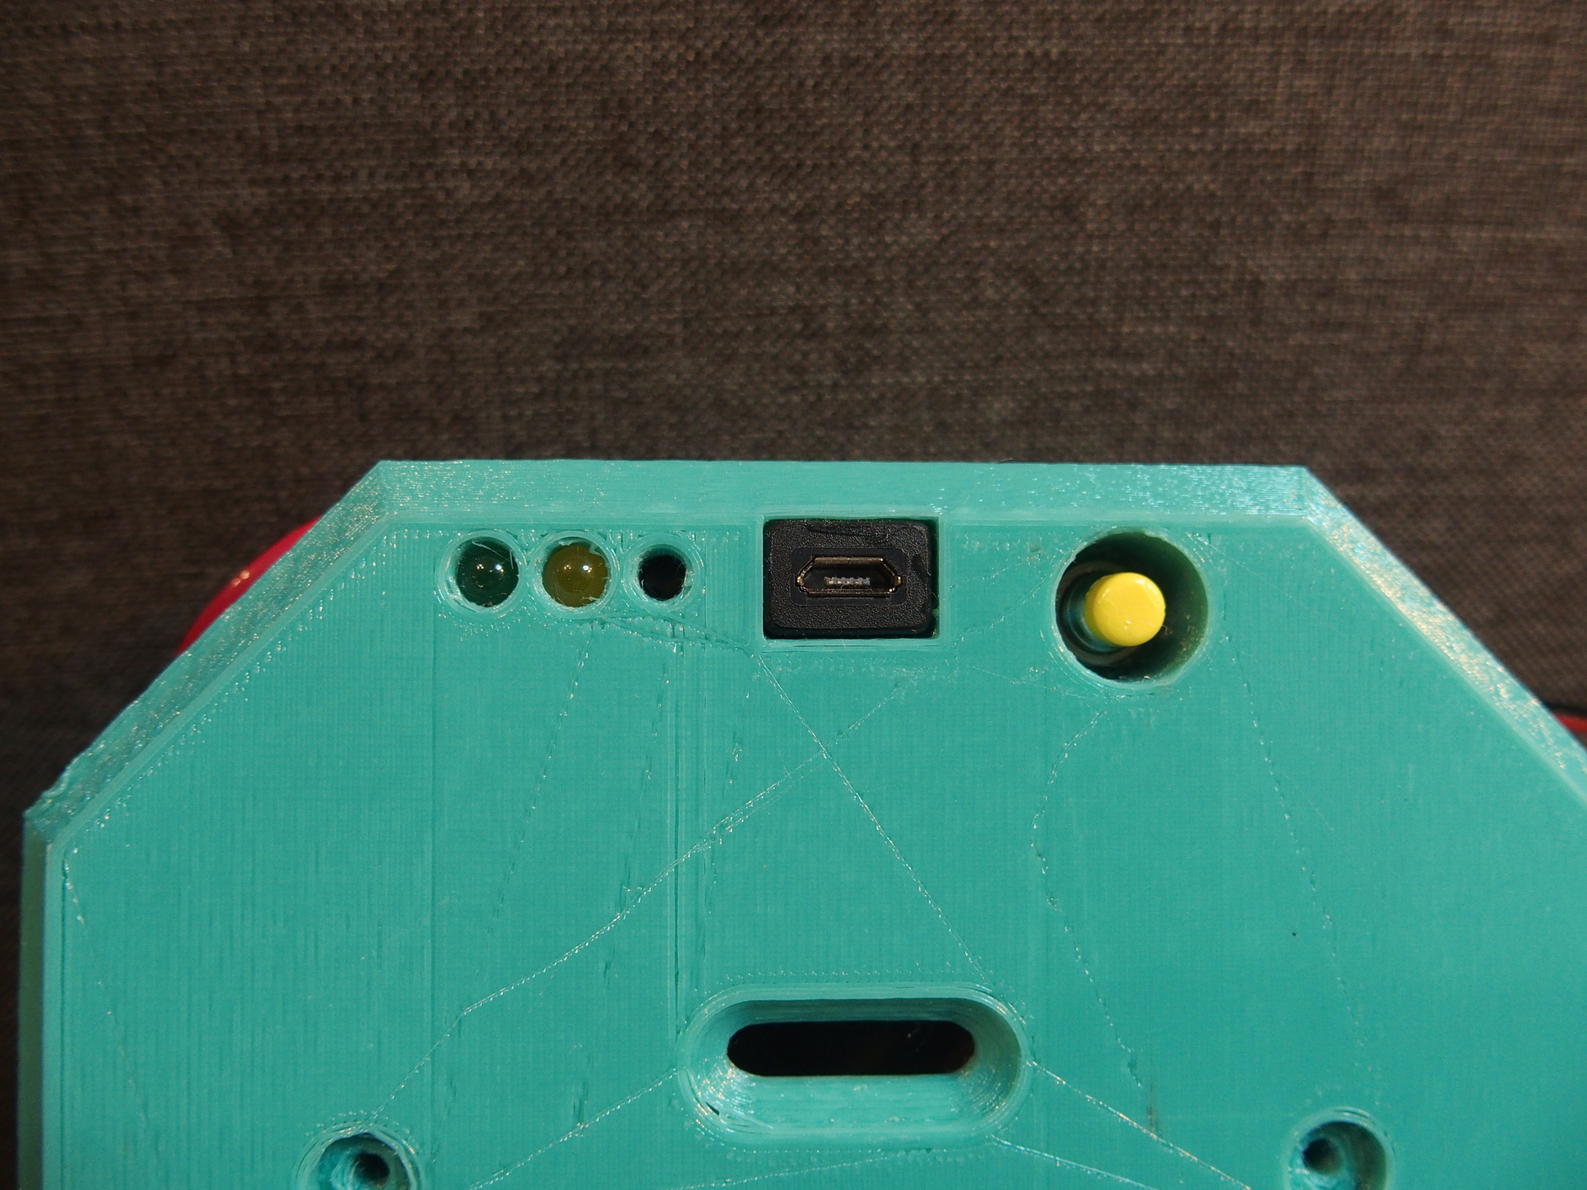
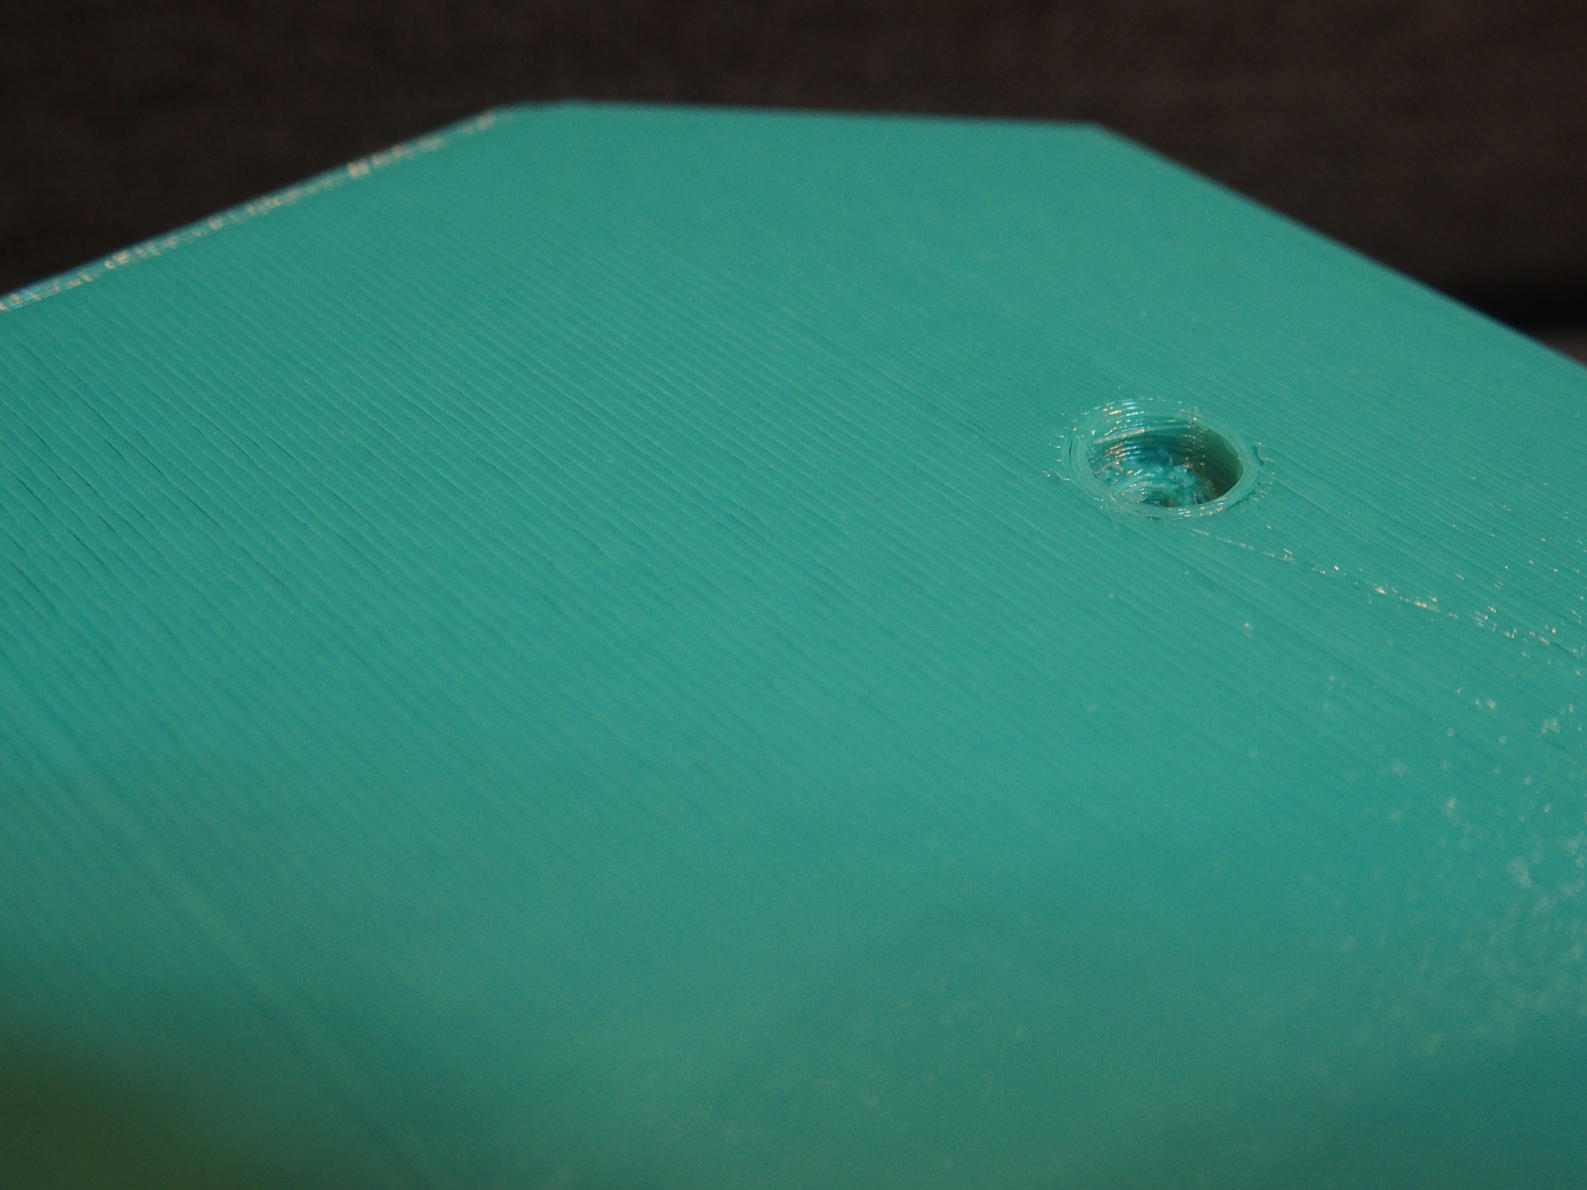
I totally forgot the holes for the general purpose aviation plug connectors.
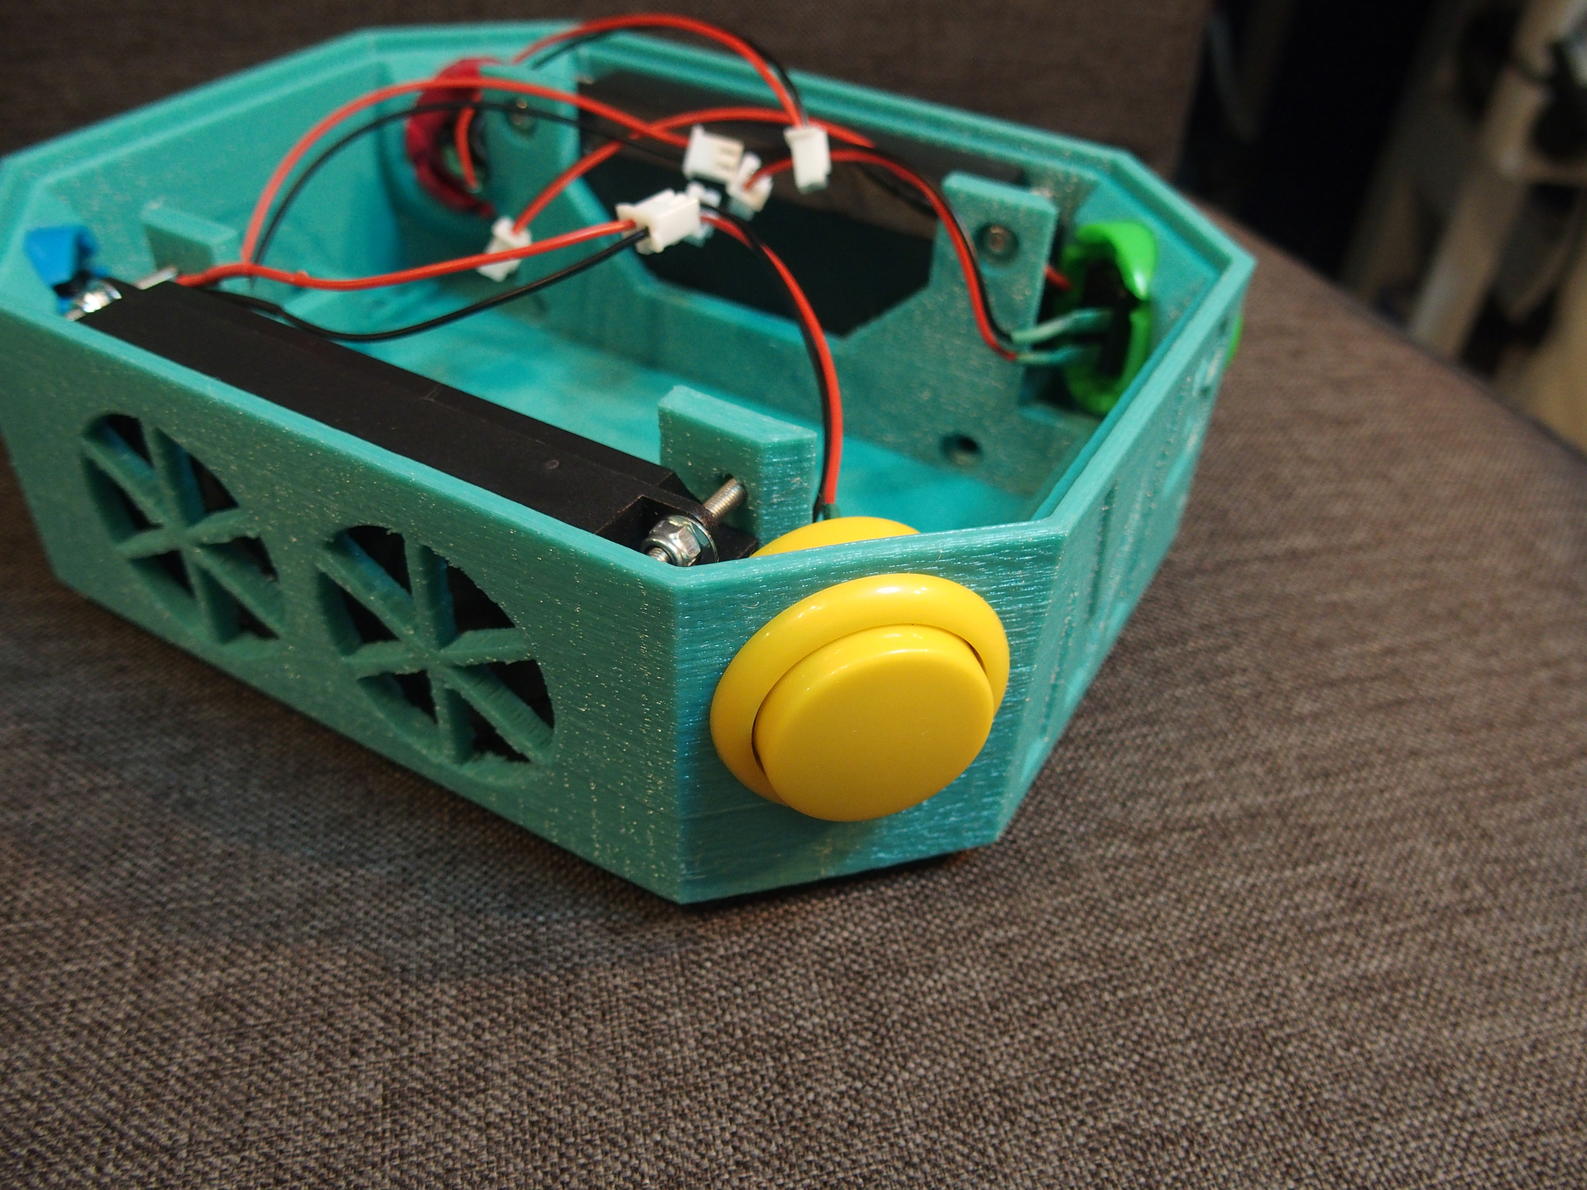
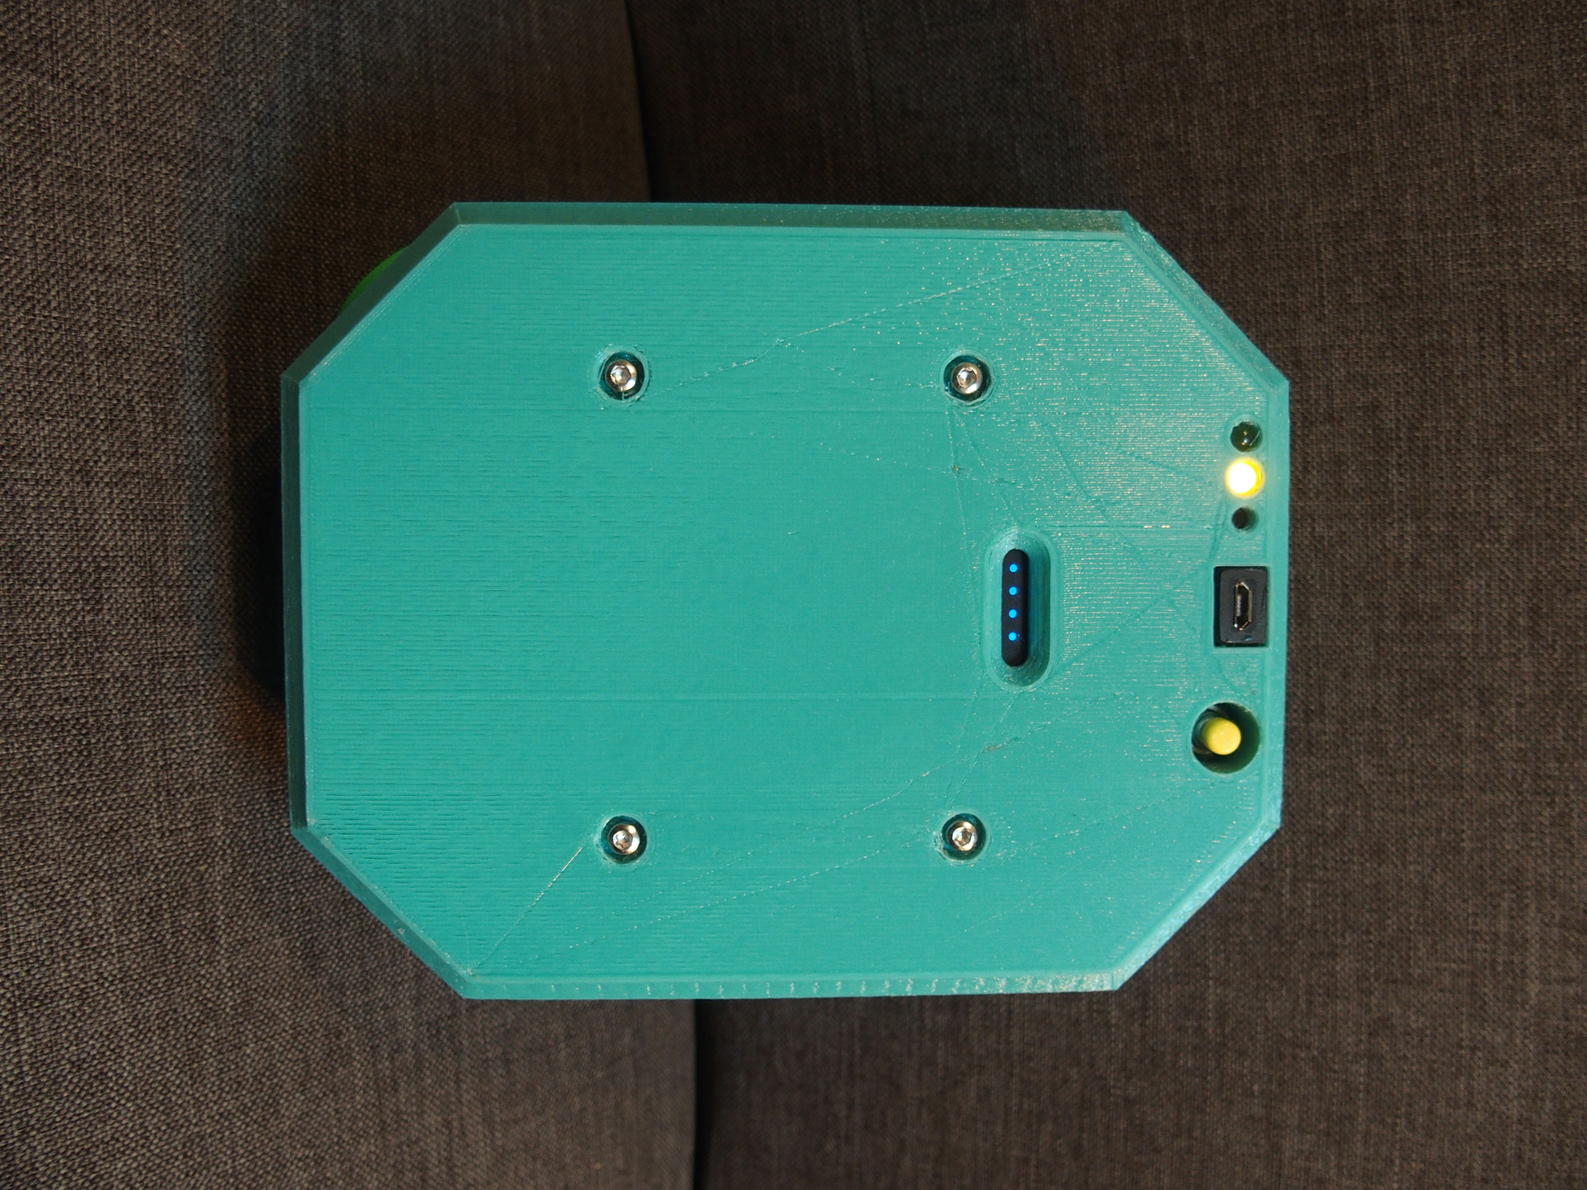
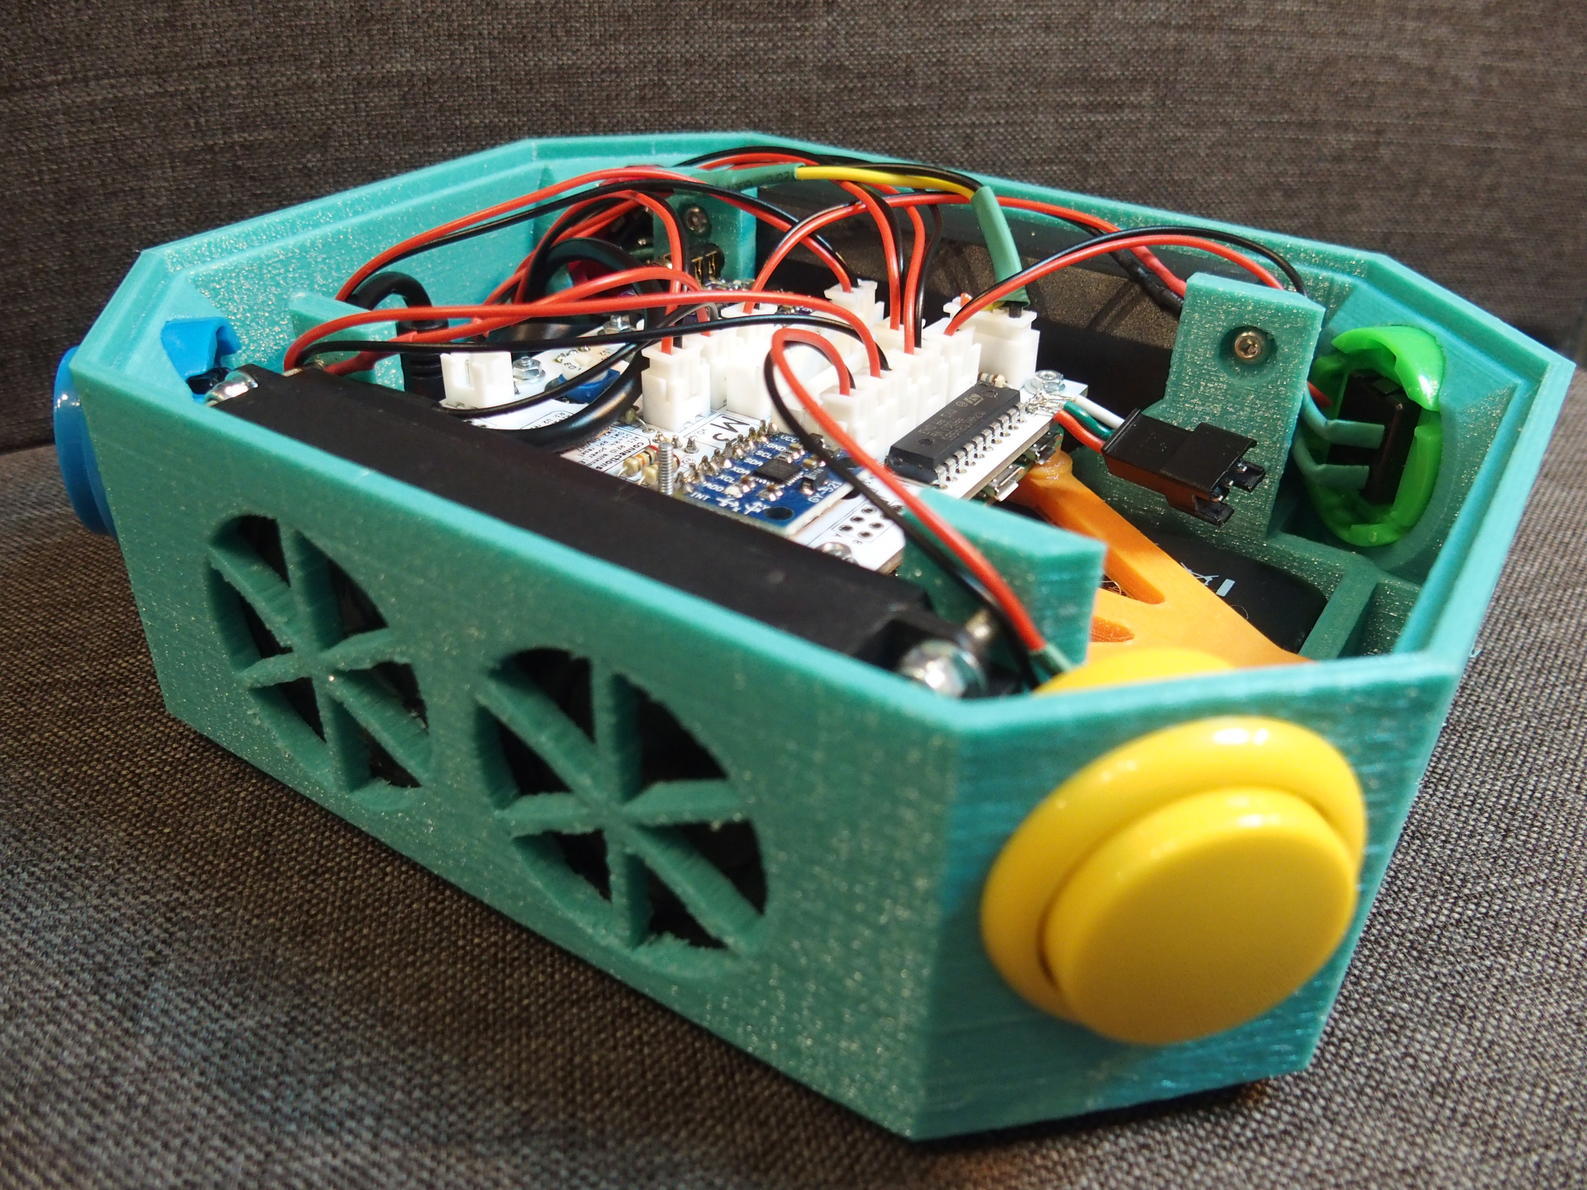
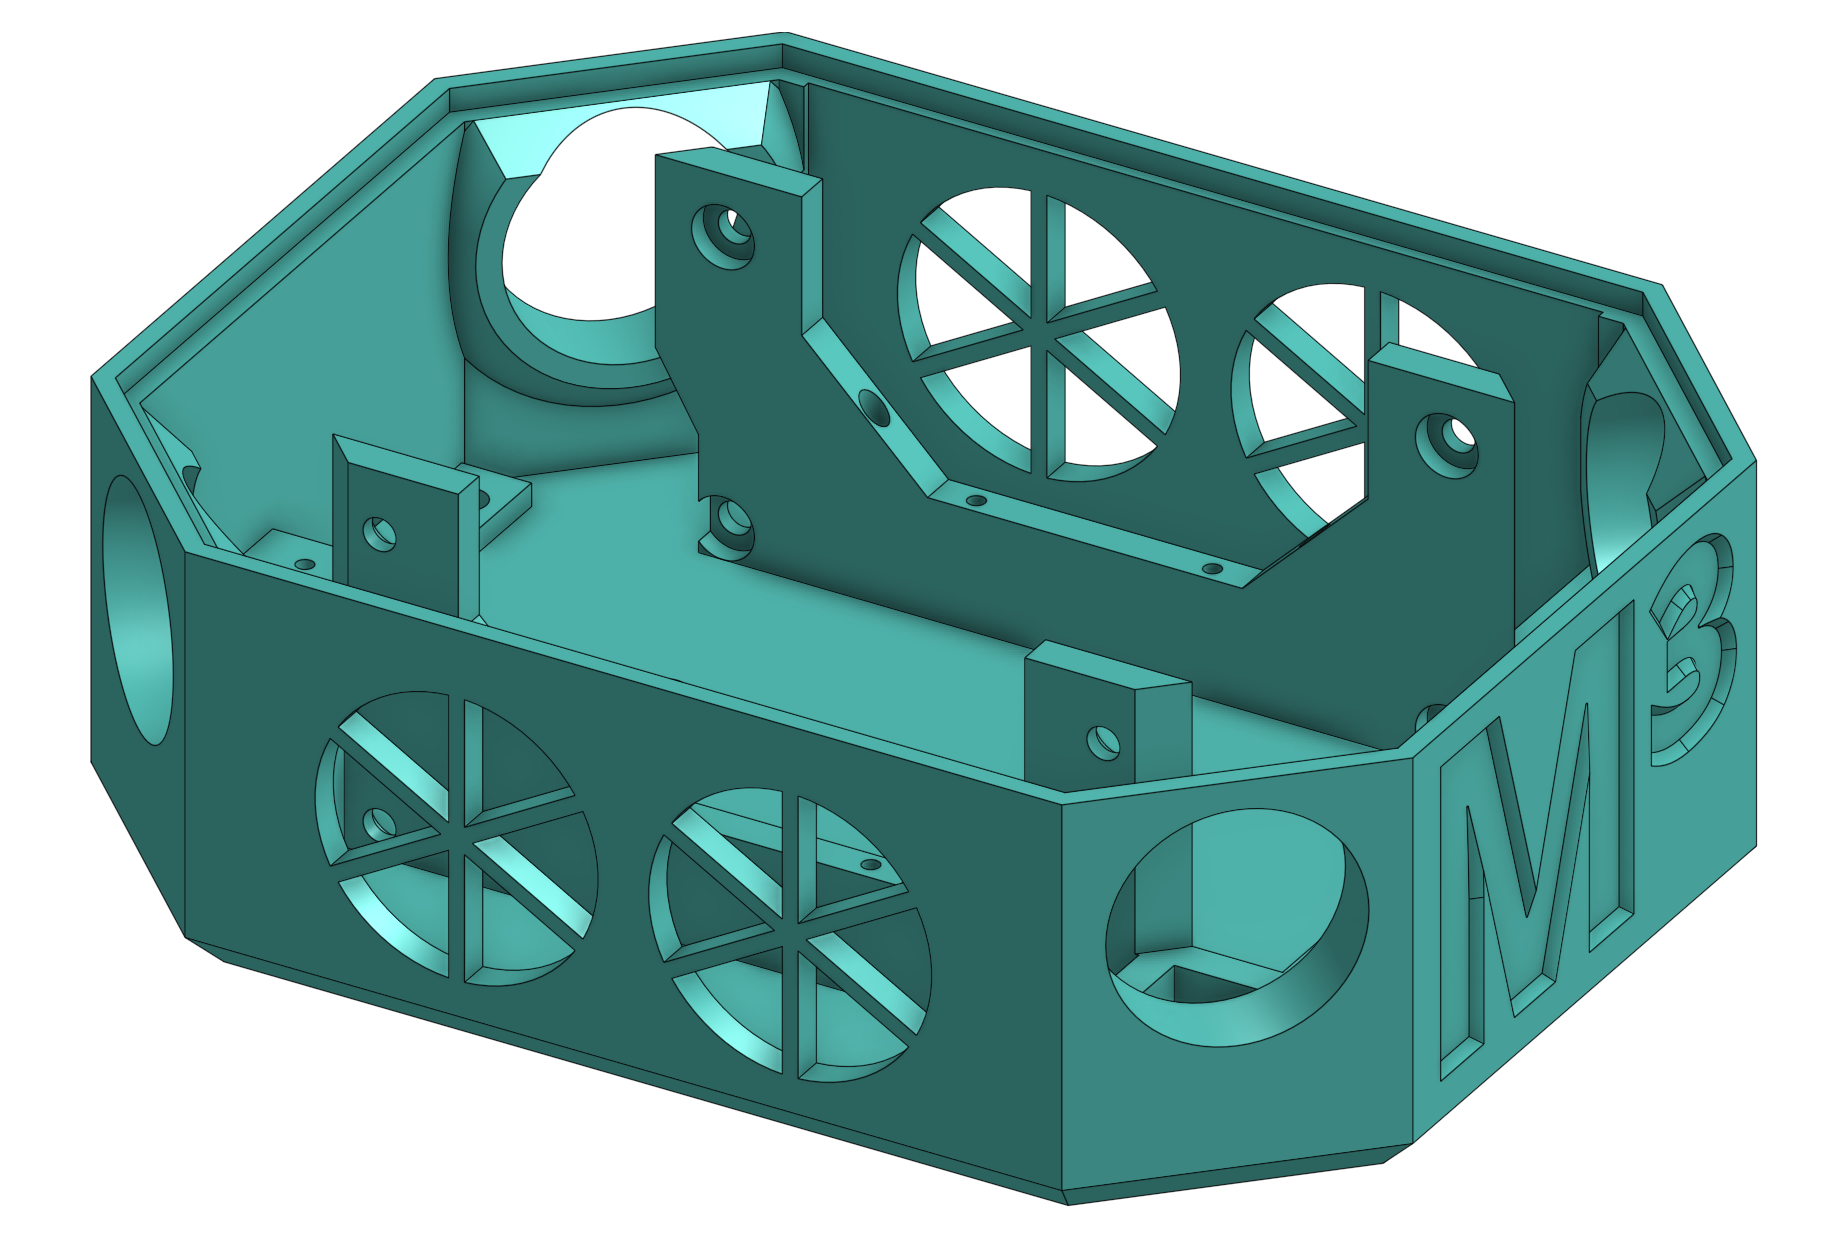
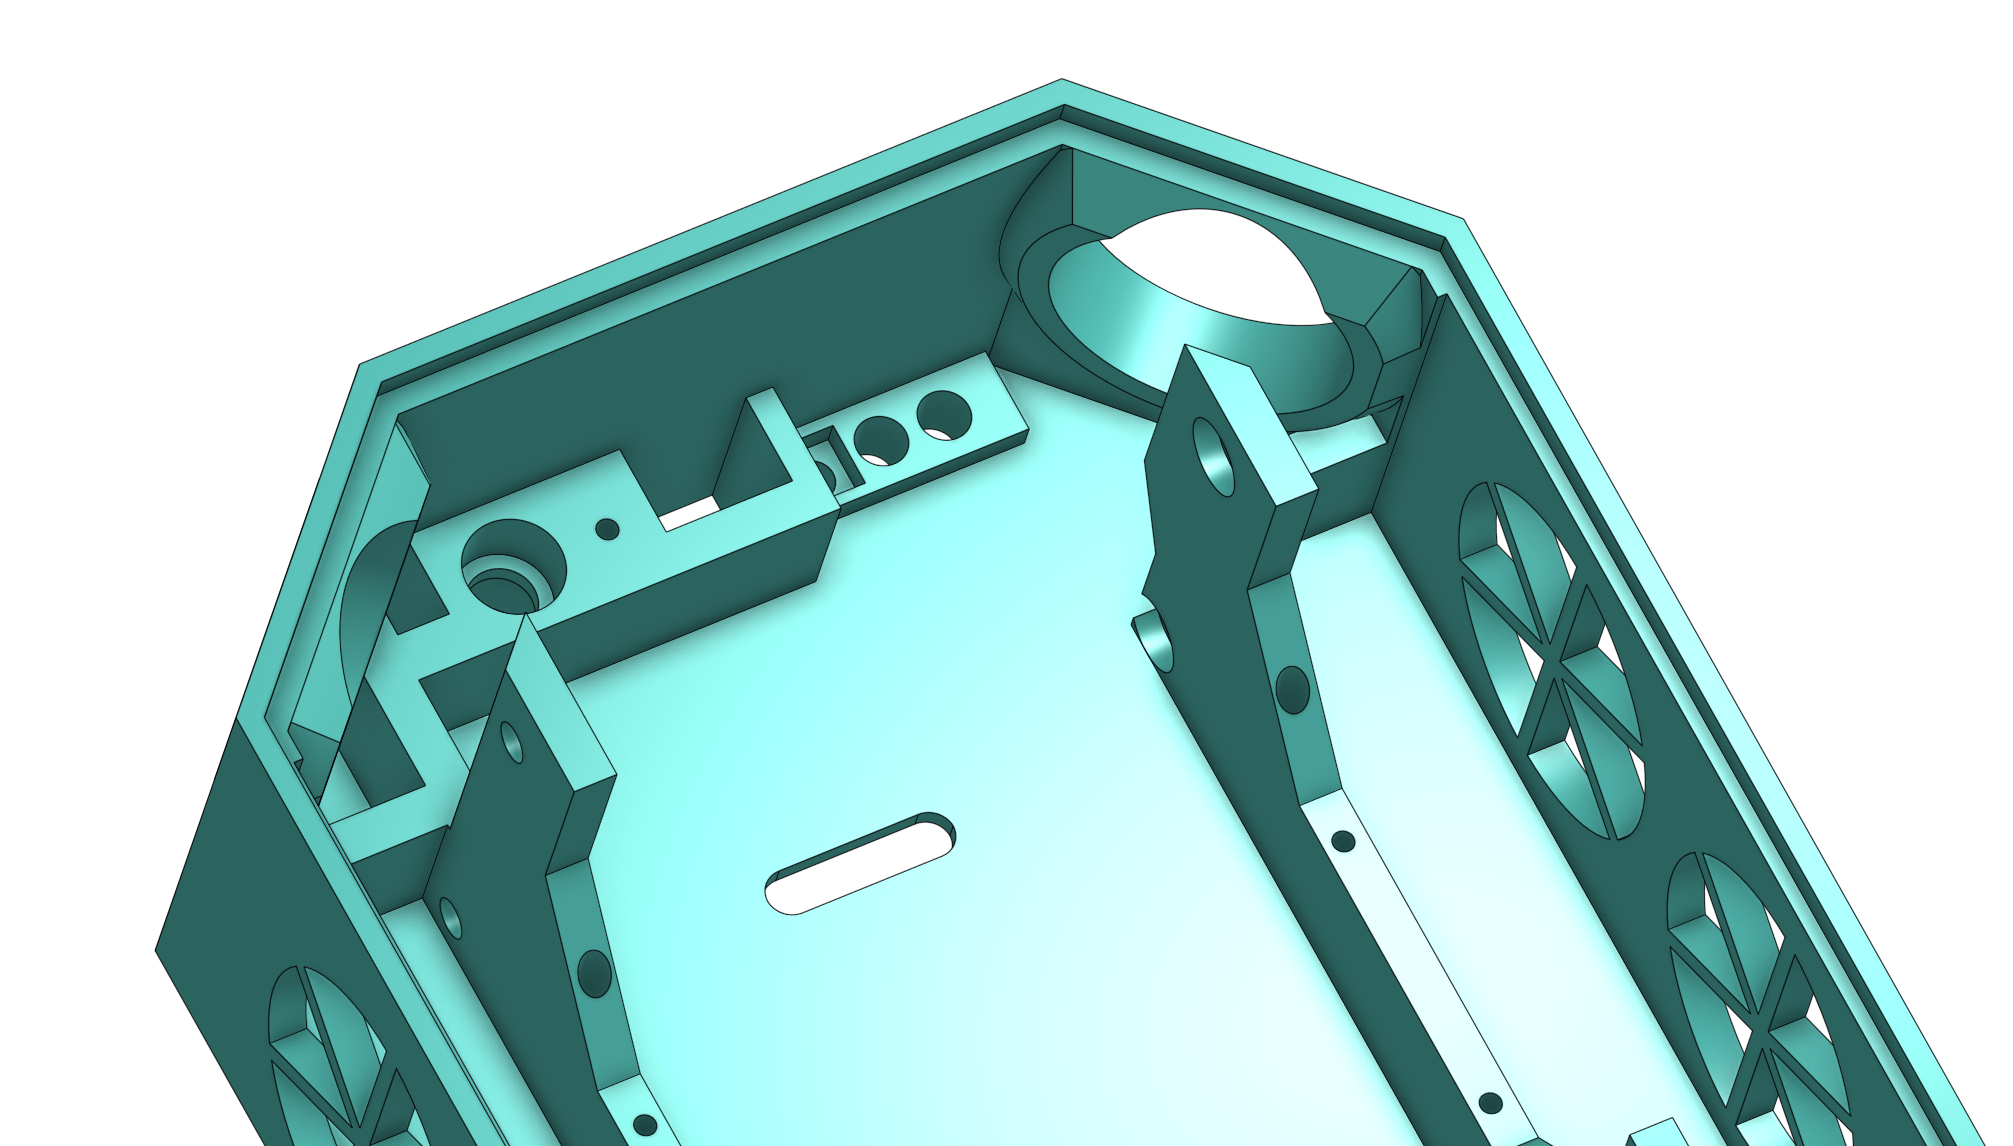
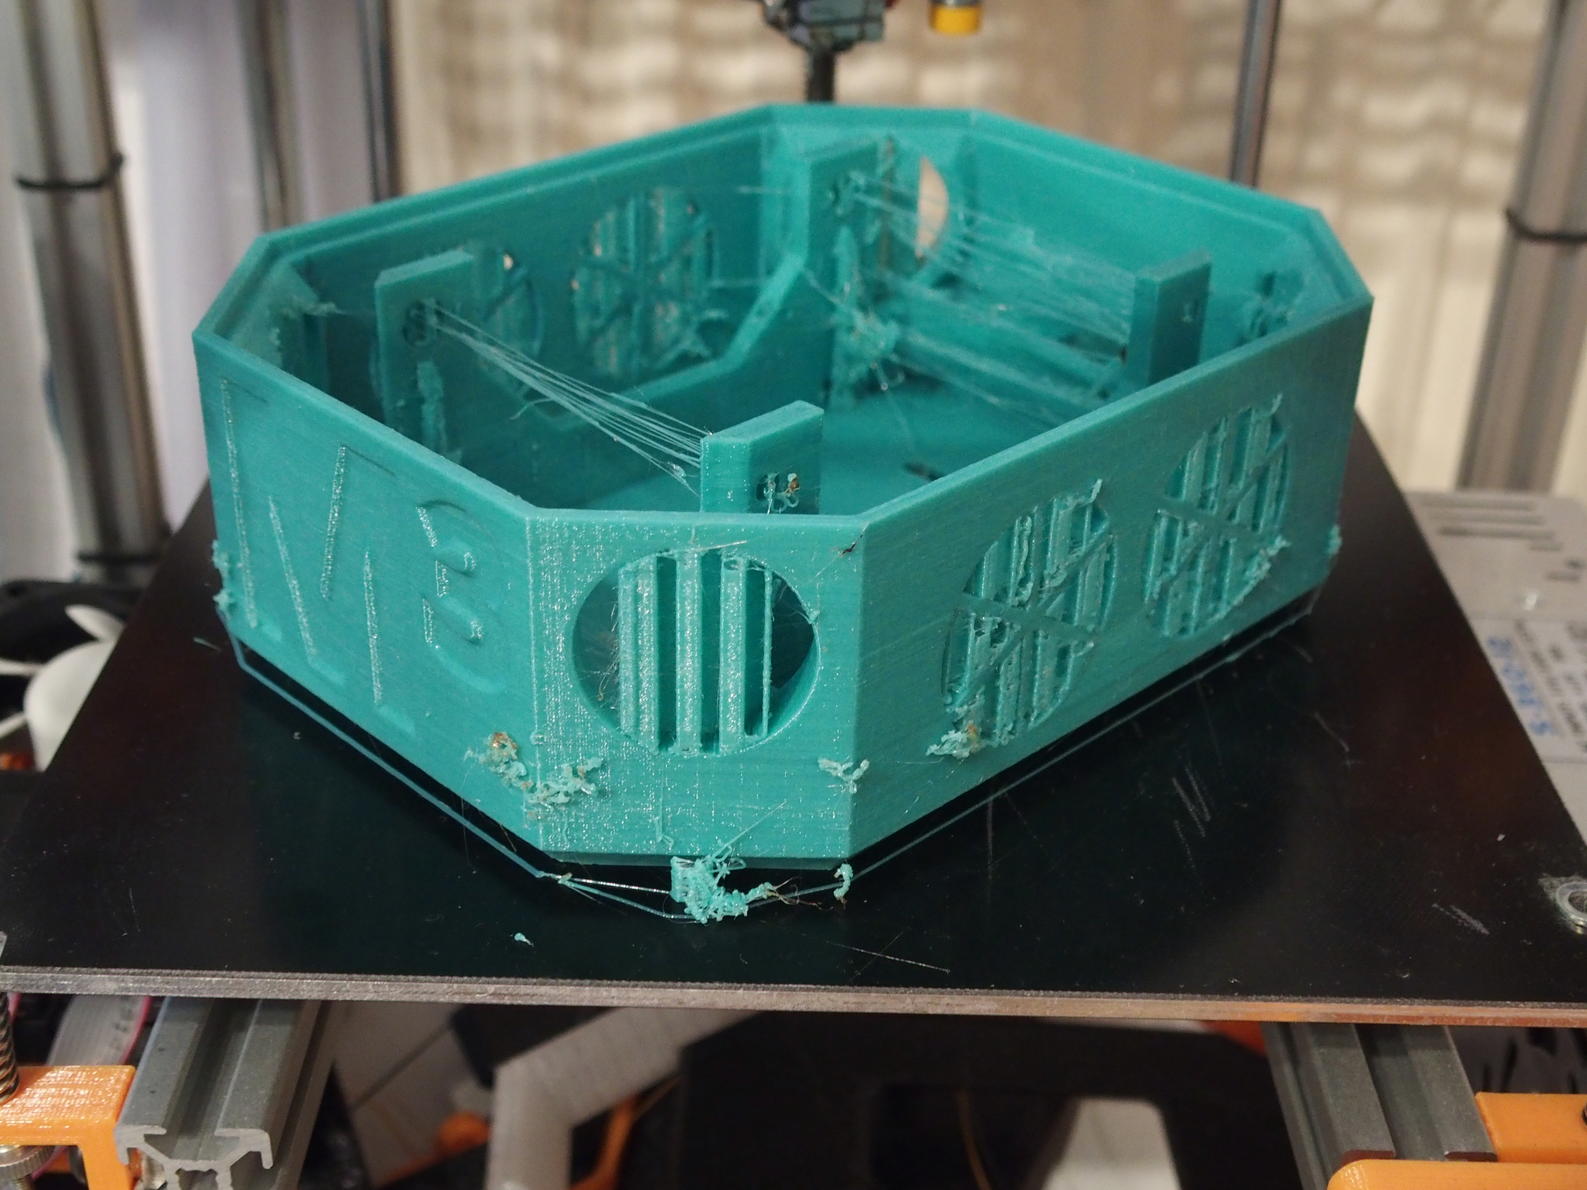
The main body is by far the largest 3D printed part. It’s essentially an octagon with walls. These walls have some cavities for the speakers as well as for the four arcade buttons. The same applies to the bottom side of the enclosure where we have holes for screws, buttons and lights.
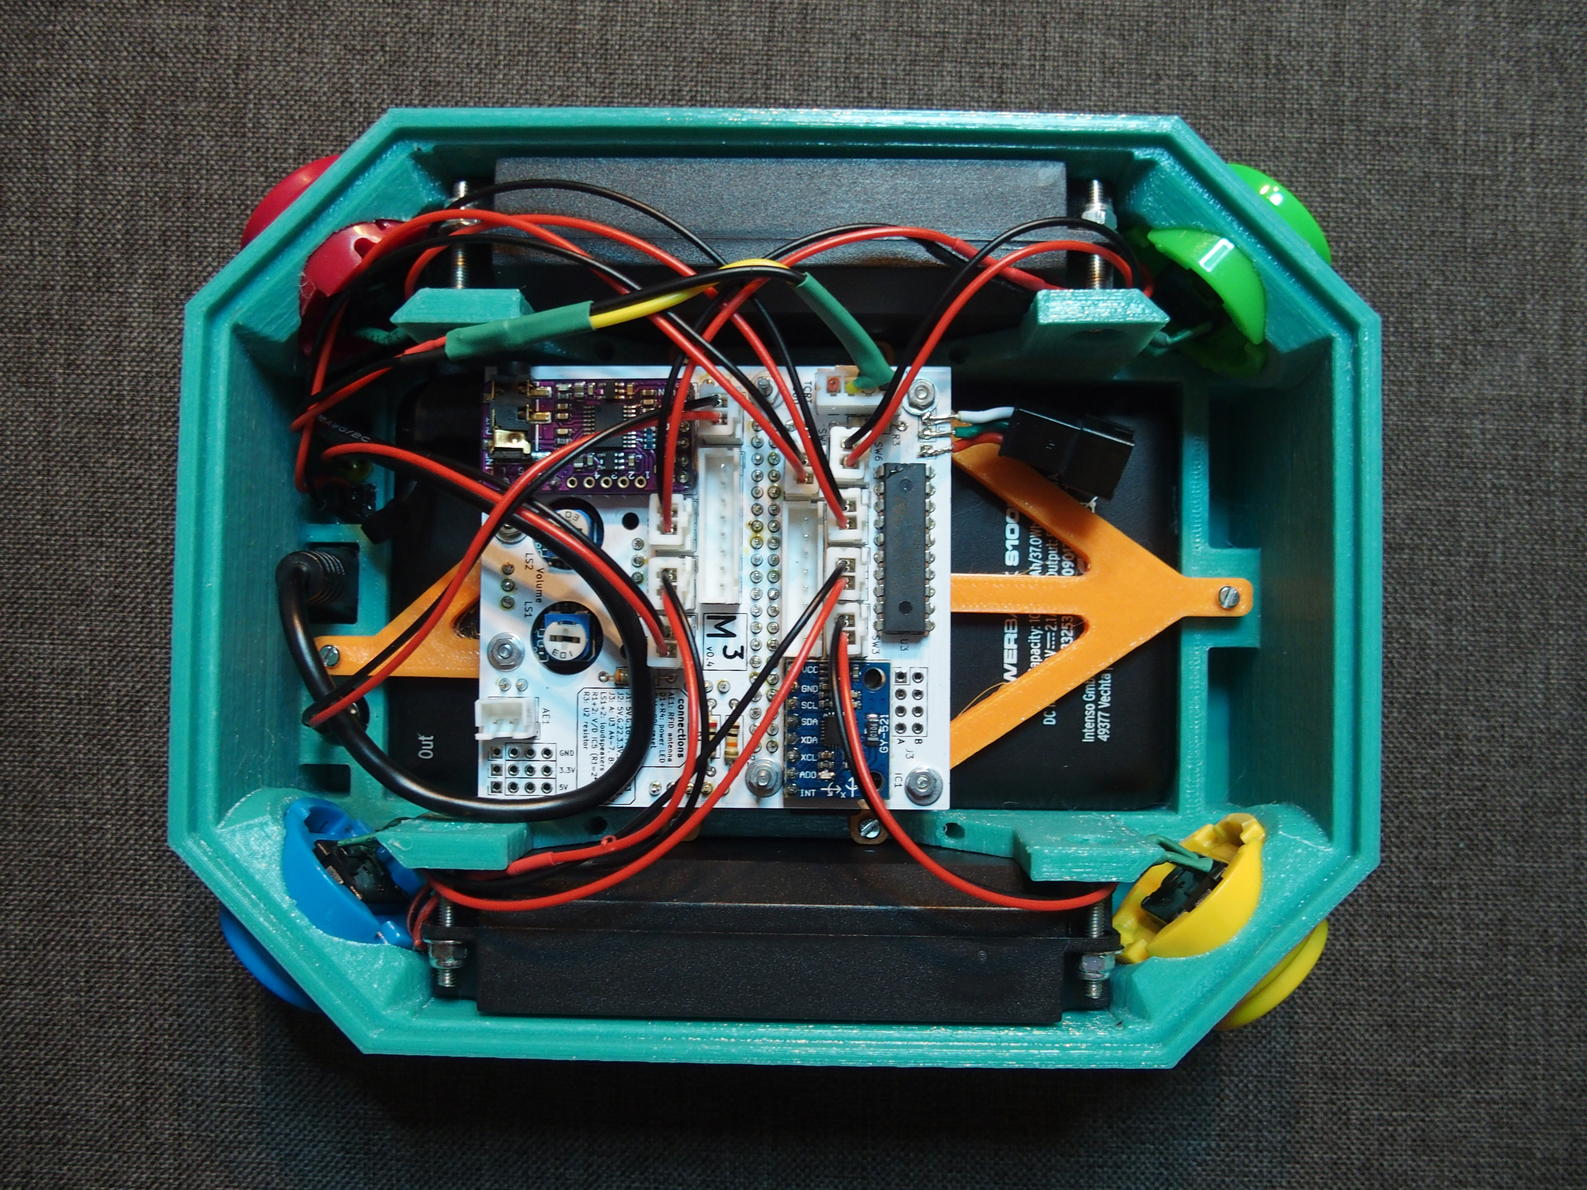
The thickness of the walls was chosen so that the whole structure is stiff and flexible at the same time. I wanted the box to be able to absorb some kinetic energy without breaking. The inside of the box is designed in a way that all components fit accurately and without pressure, secure and robust.
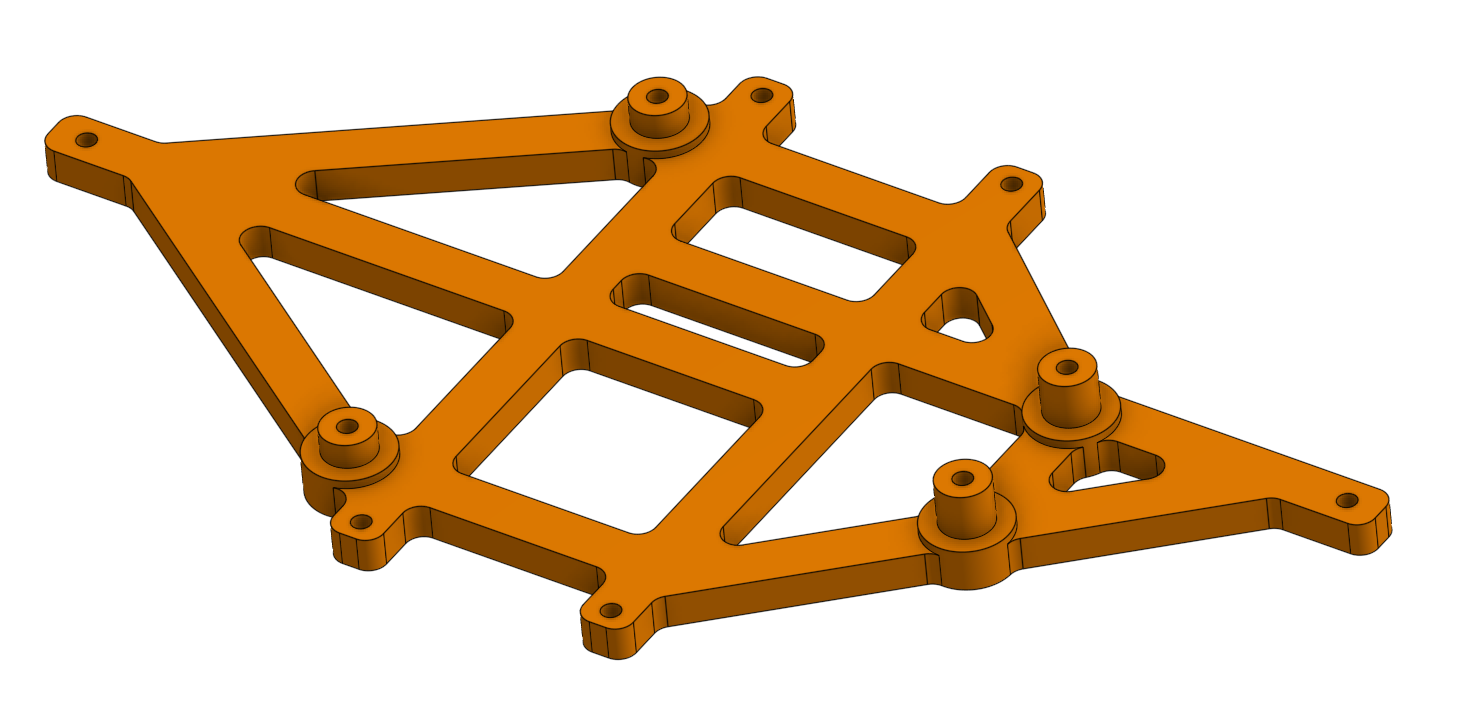
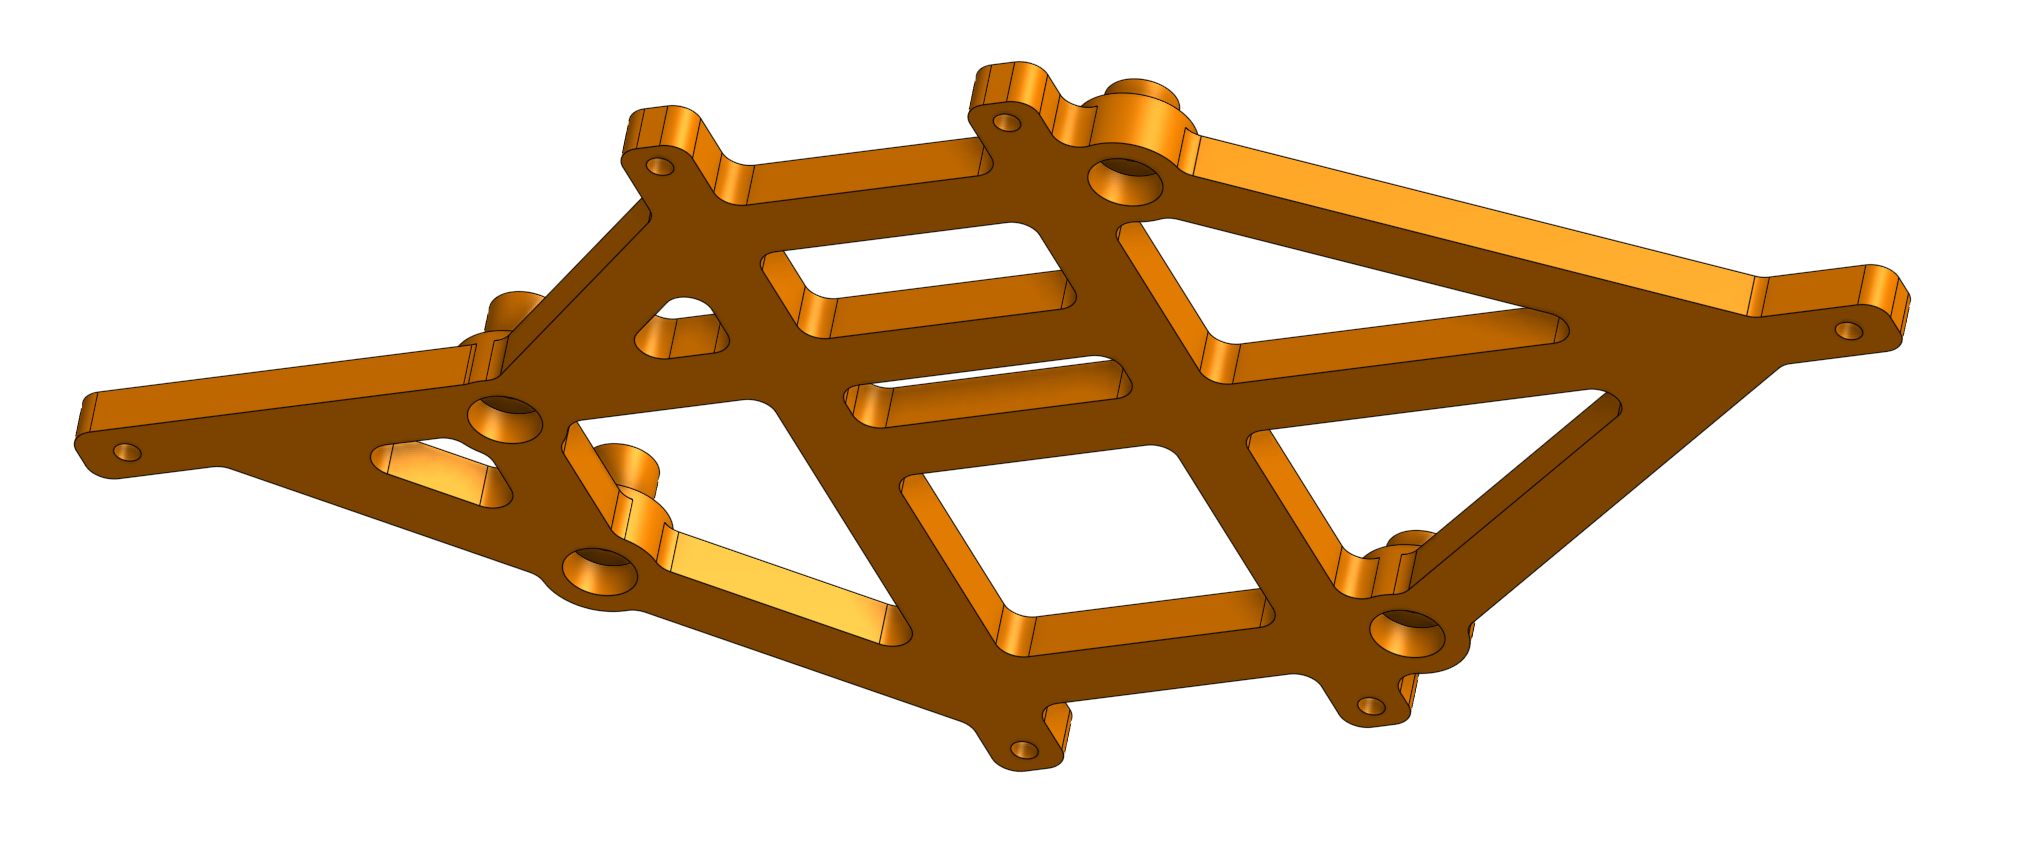
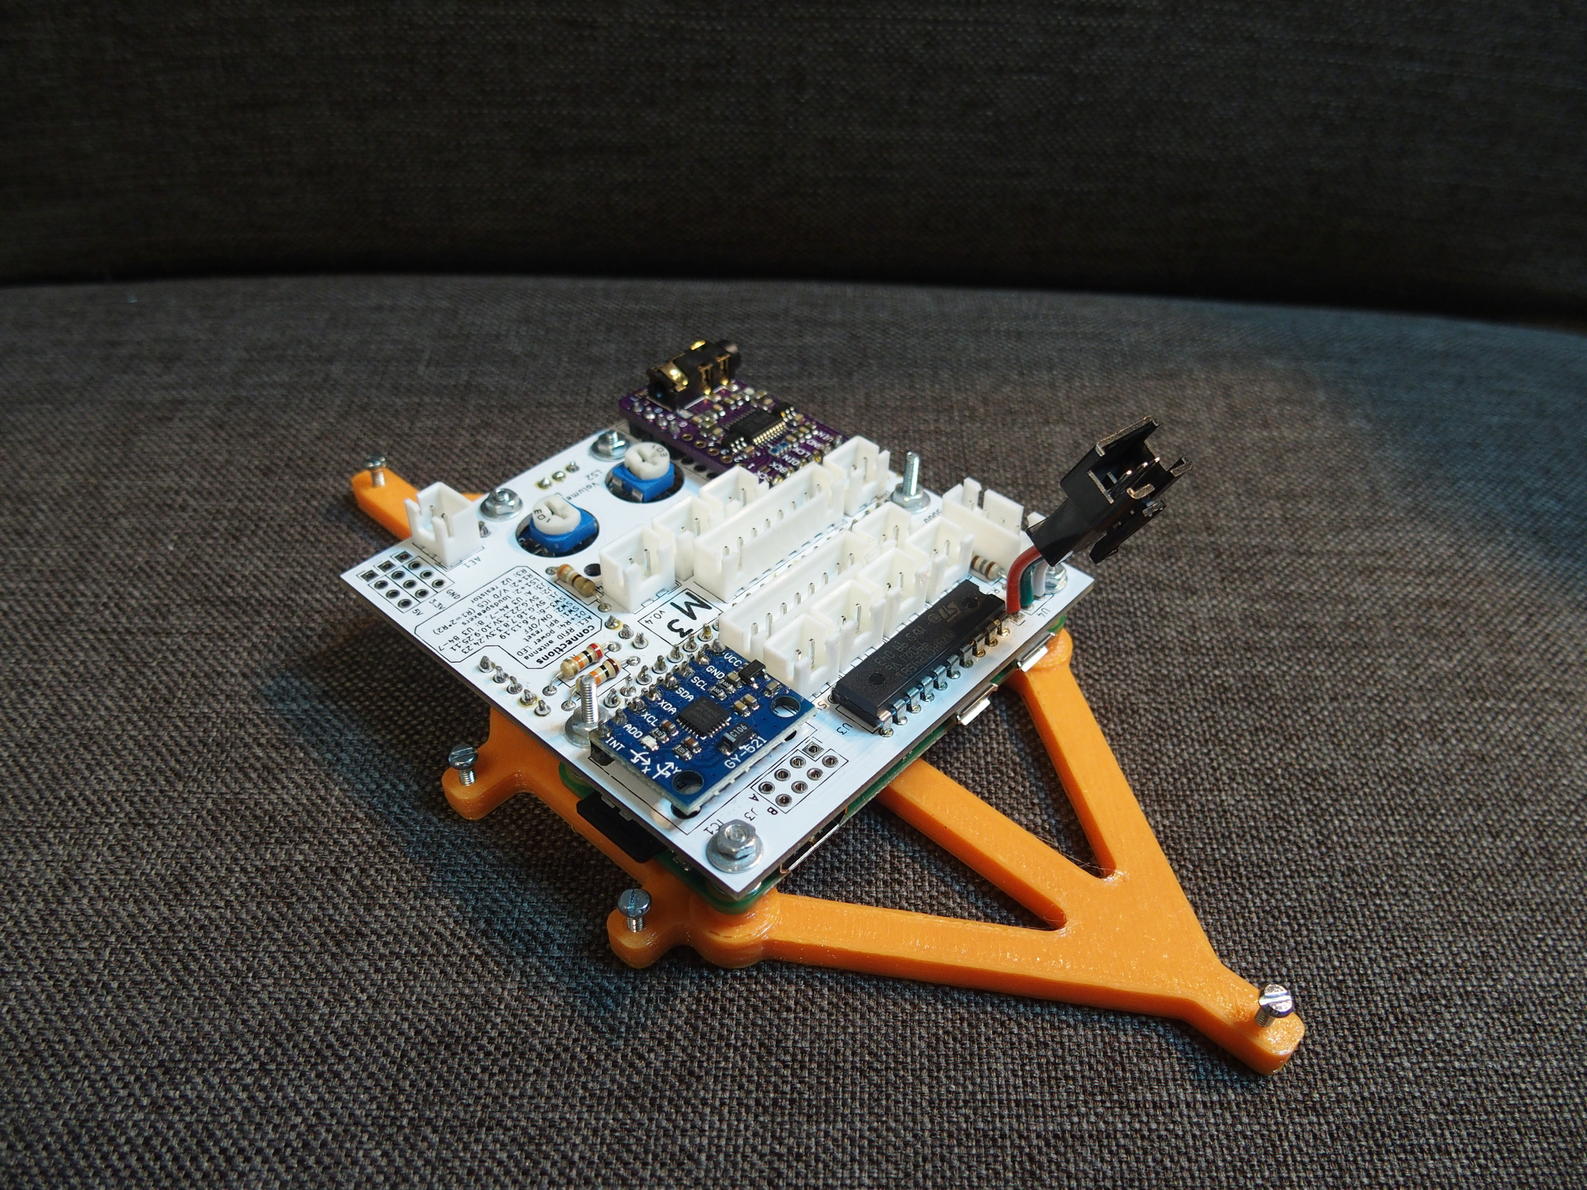
The PCB holder does not only hold the PCB. When screwed to the main body it is also keeps the battery in place.

Printing the main part on my HyperCube took something like 14 hours or so. Afterwards some cleaning was necessary to remove the support structures. The whole part was actually printed one and a half times. I paused the first try in the middle in order to make some realworld tests. The speakers didn’t fit well so I had to redesign the layout a little bit. Now I’m very pleased with the result. My daughter even dropped the box from a table and there’s not a single scratch or crack to be seen.


The speakers can be screwed in easily. The LEDs and USB connector have to be glued in place with a little bit of super glue. The USB cable needs some pressure to fit inside the cavity. This is intentionally designed in such a way because plugging the cable into the micro USB socket may produce some stress. The arcade buttons don’t need any additional adhesion and snap in place with a little bit of pressure.