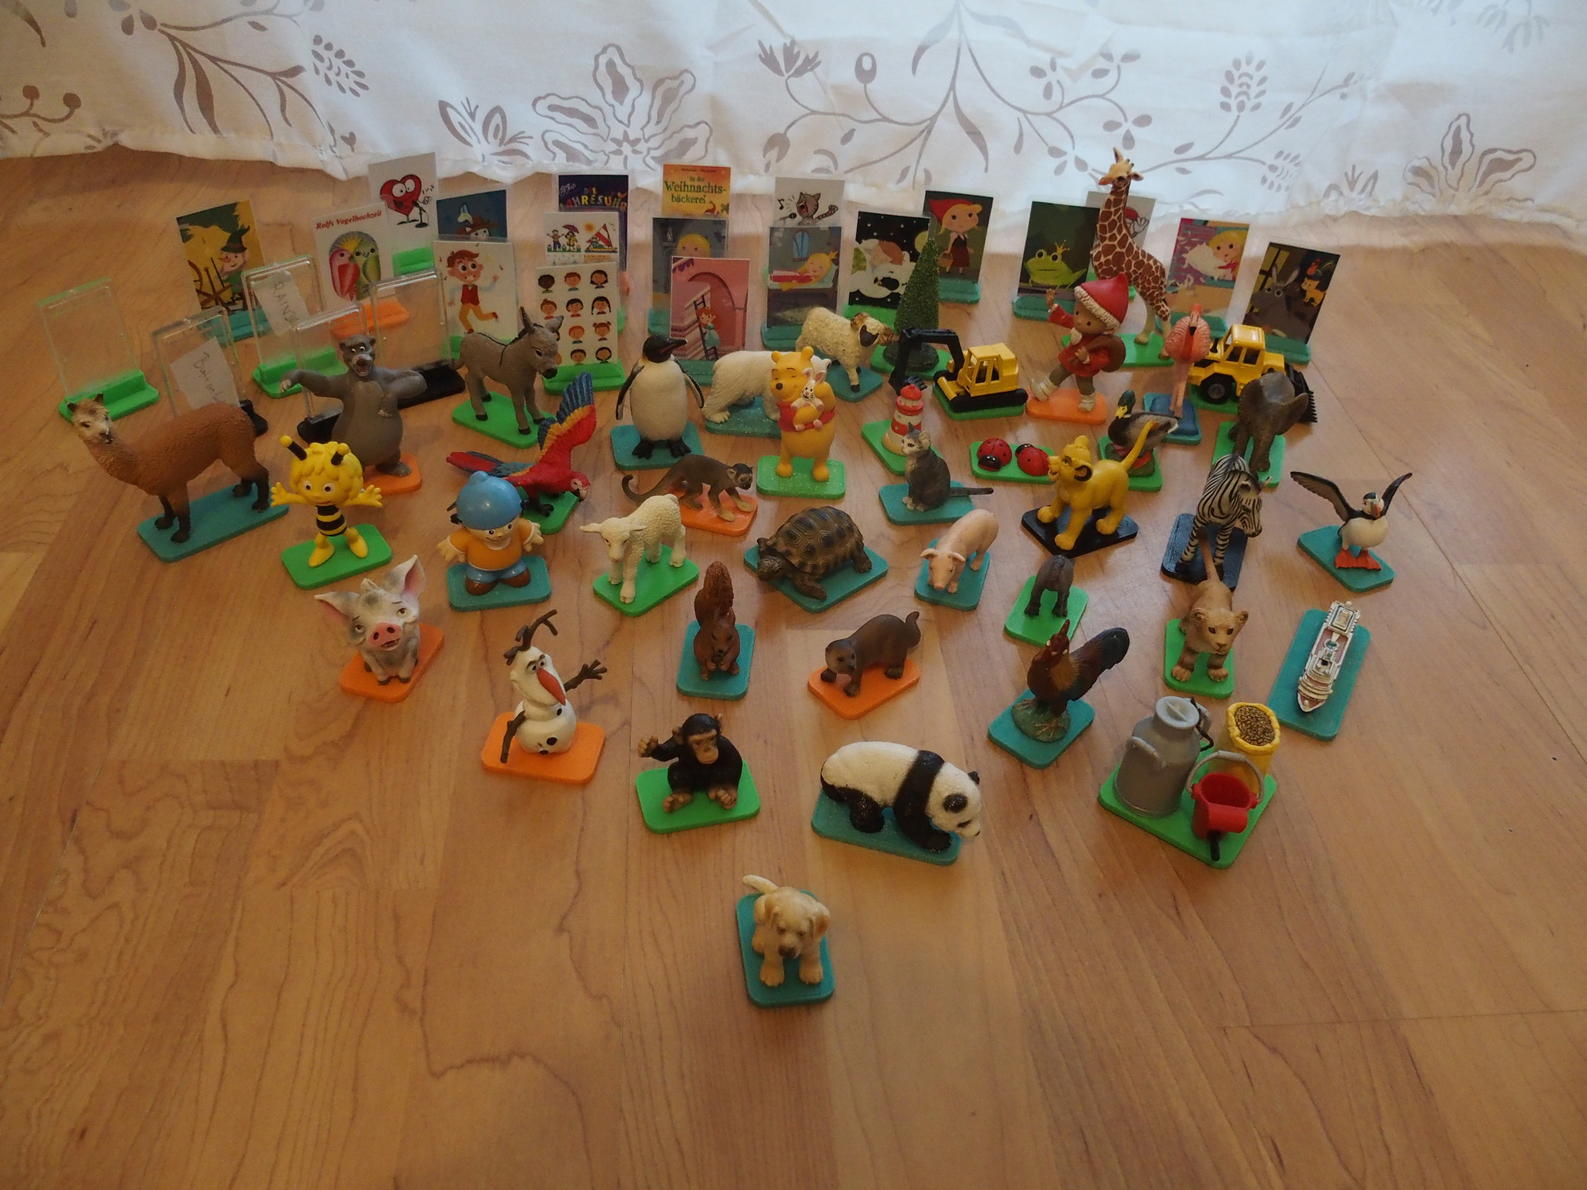
Right from the start the kids had over 50 different tags available. Nowadays the number grew to almost 100.
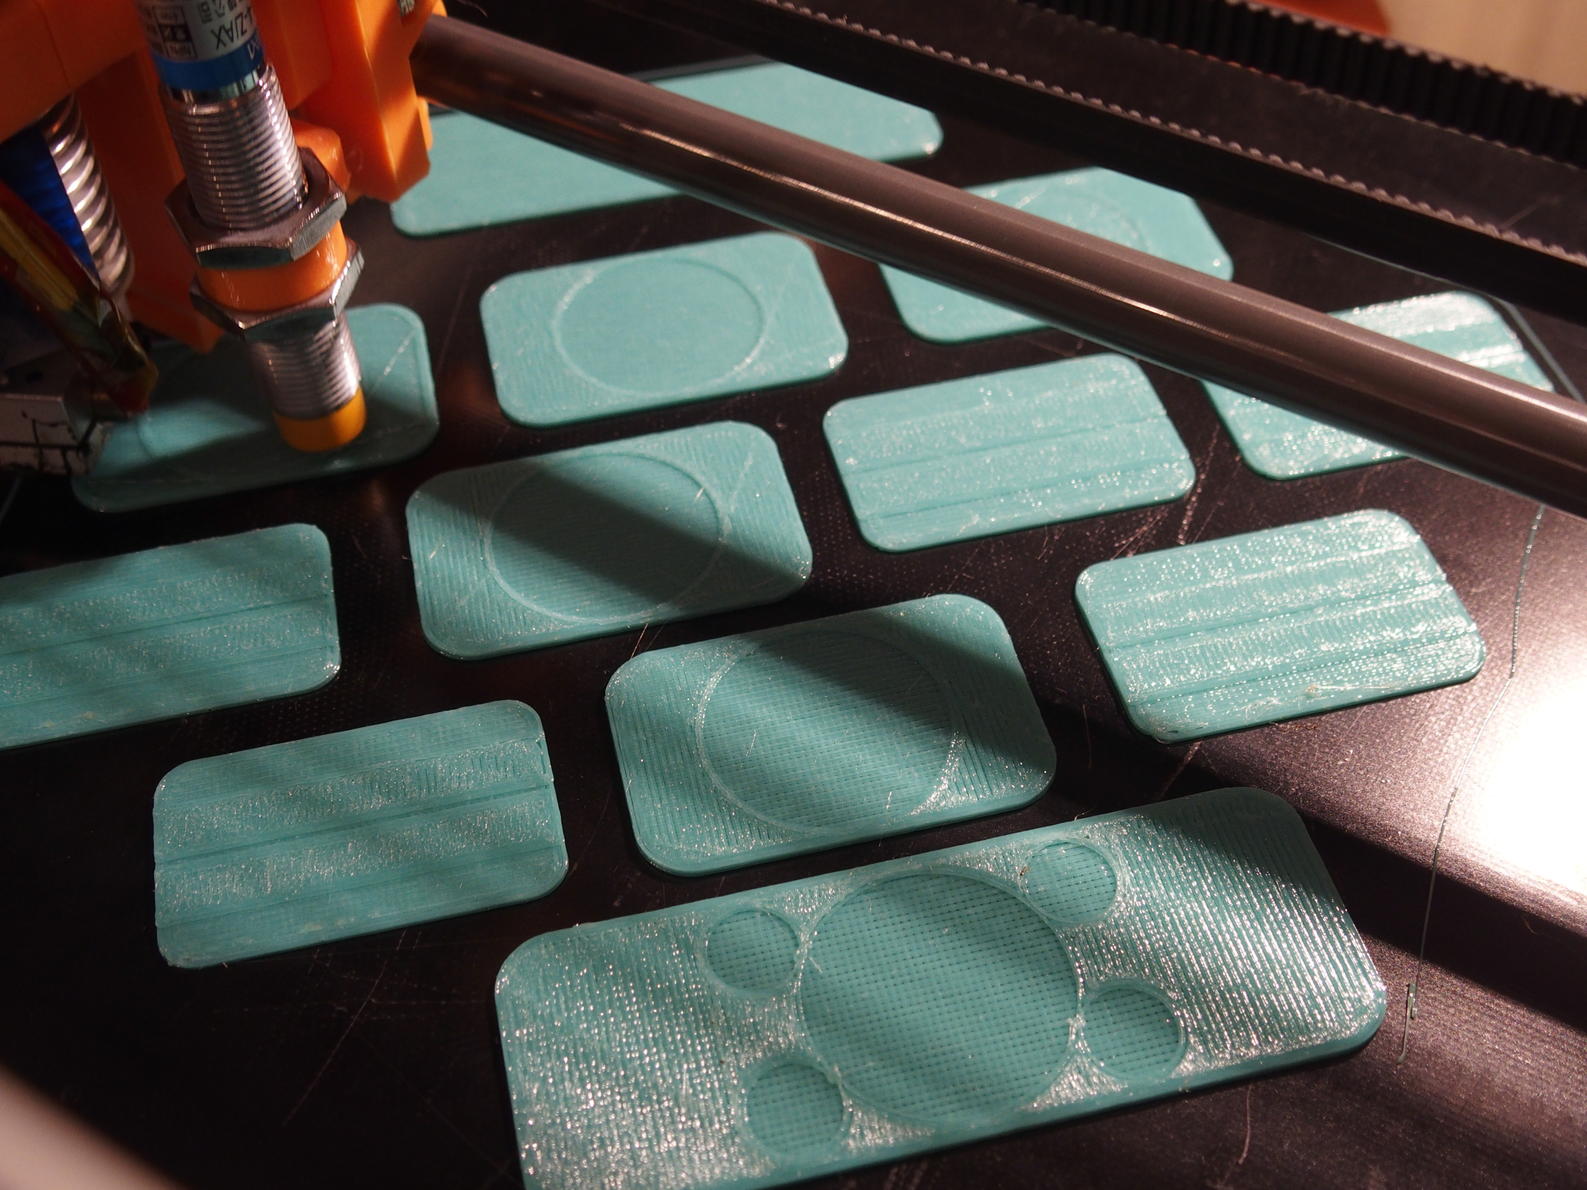
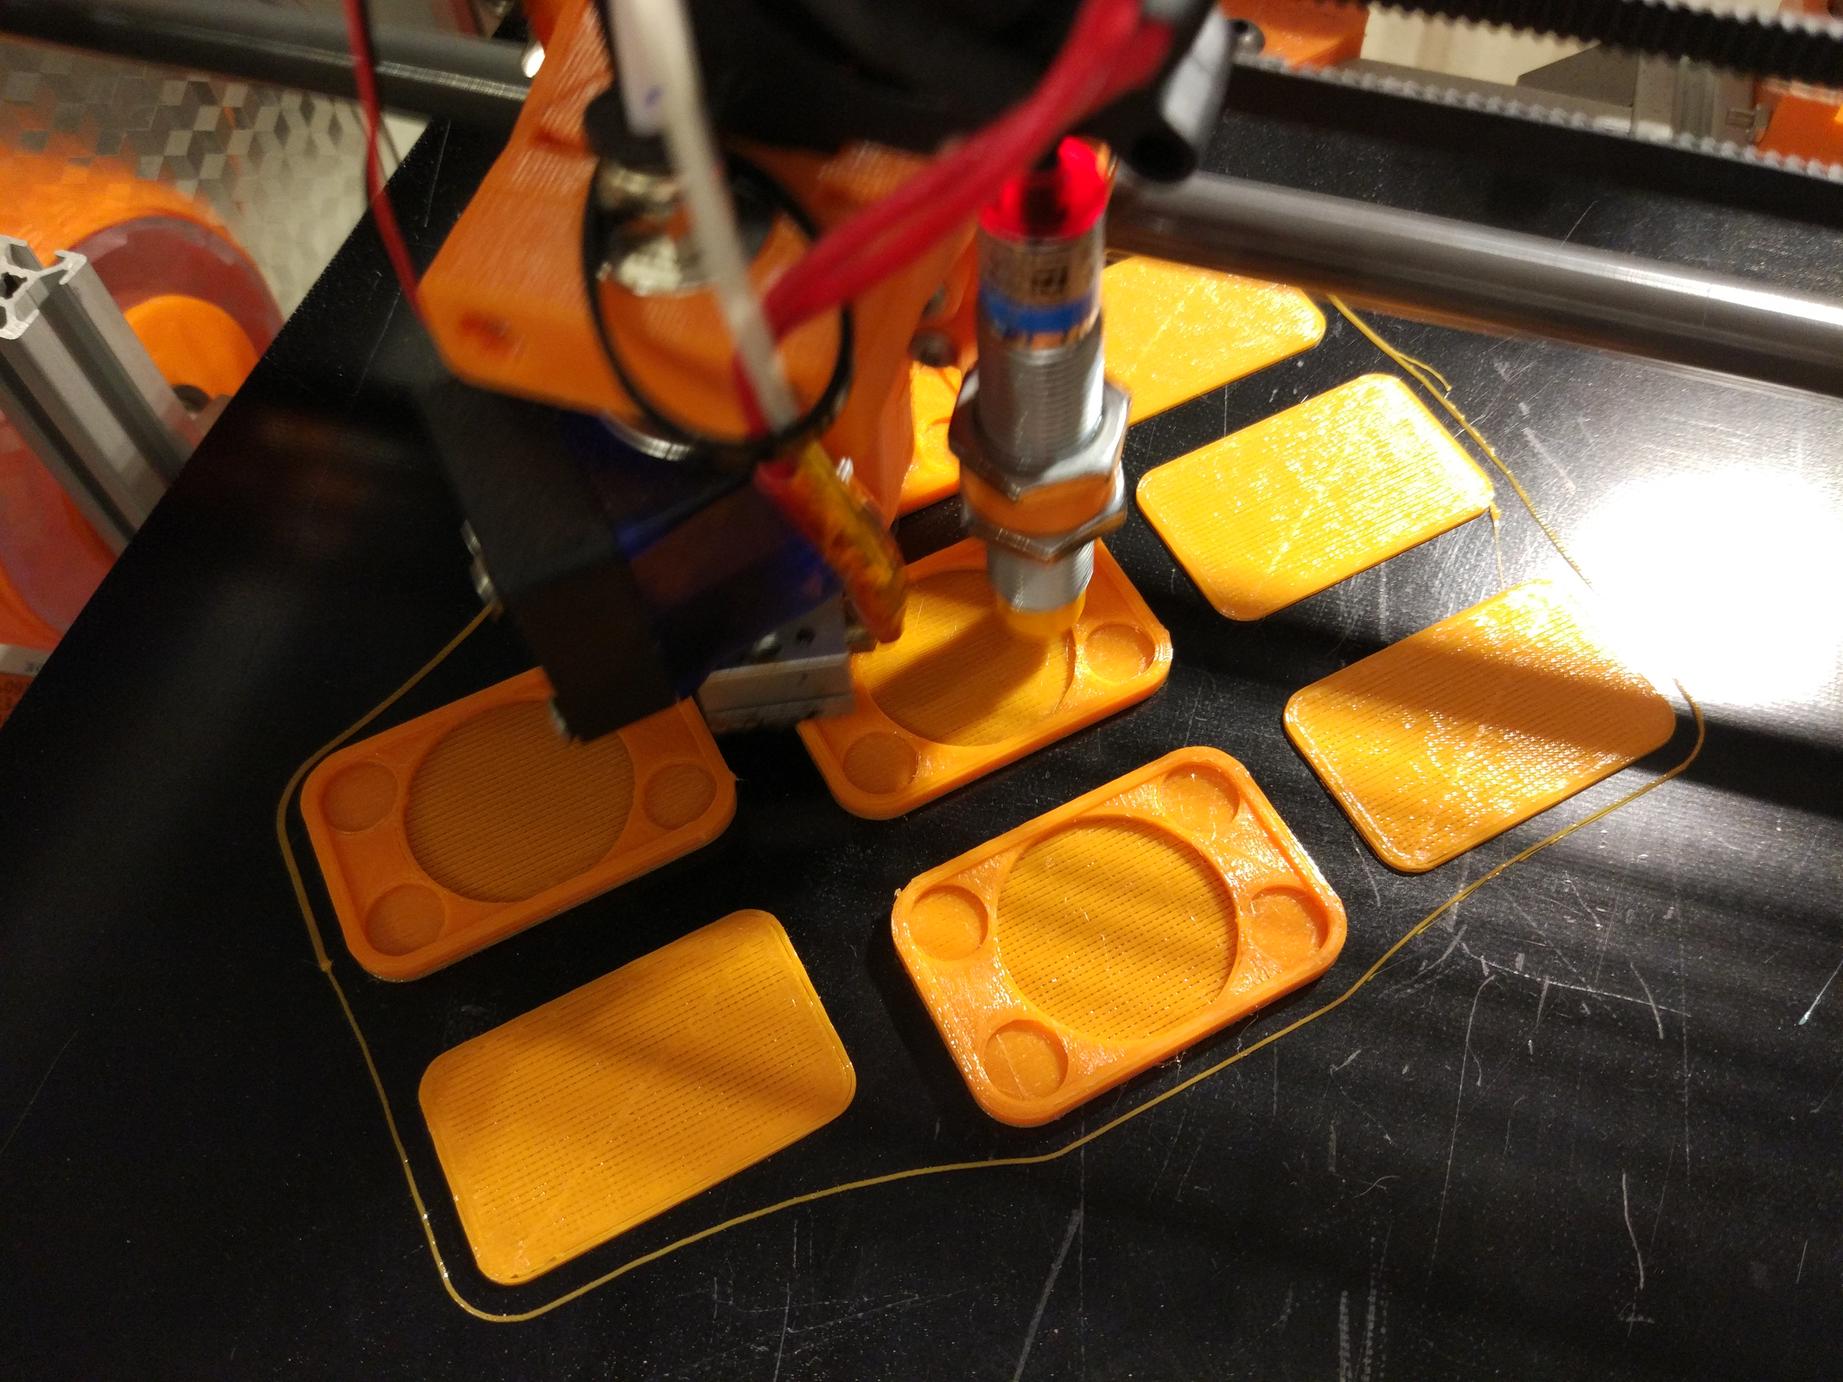
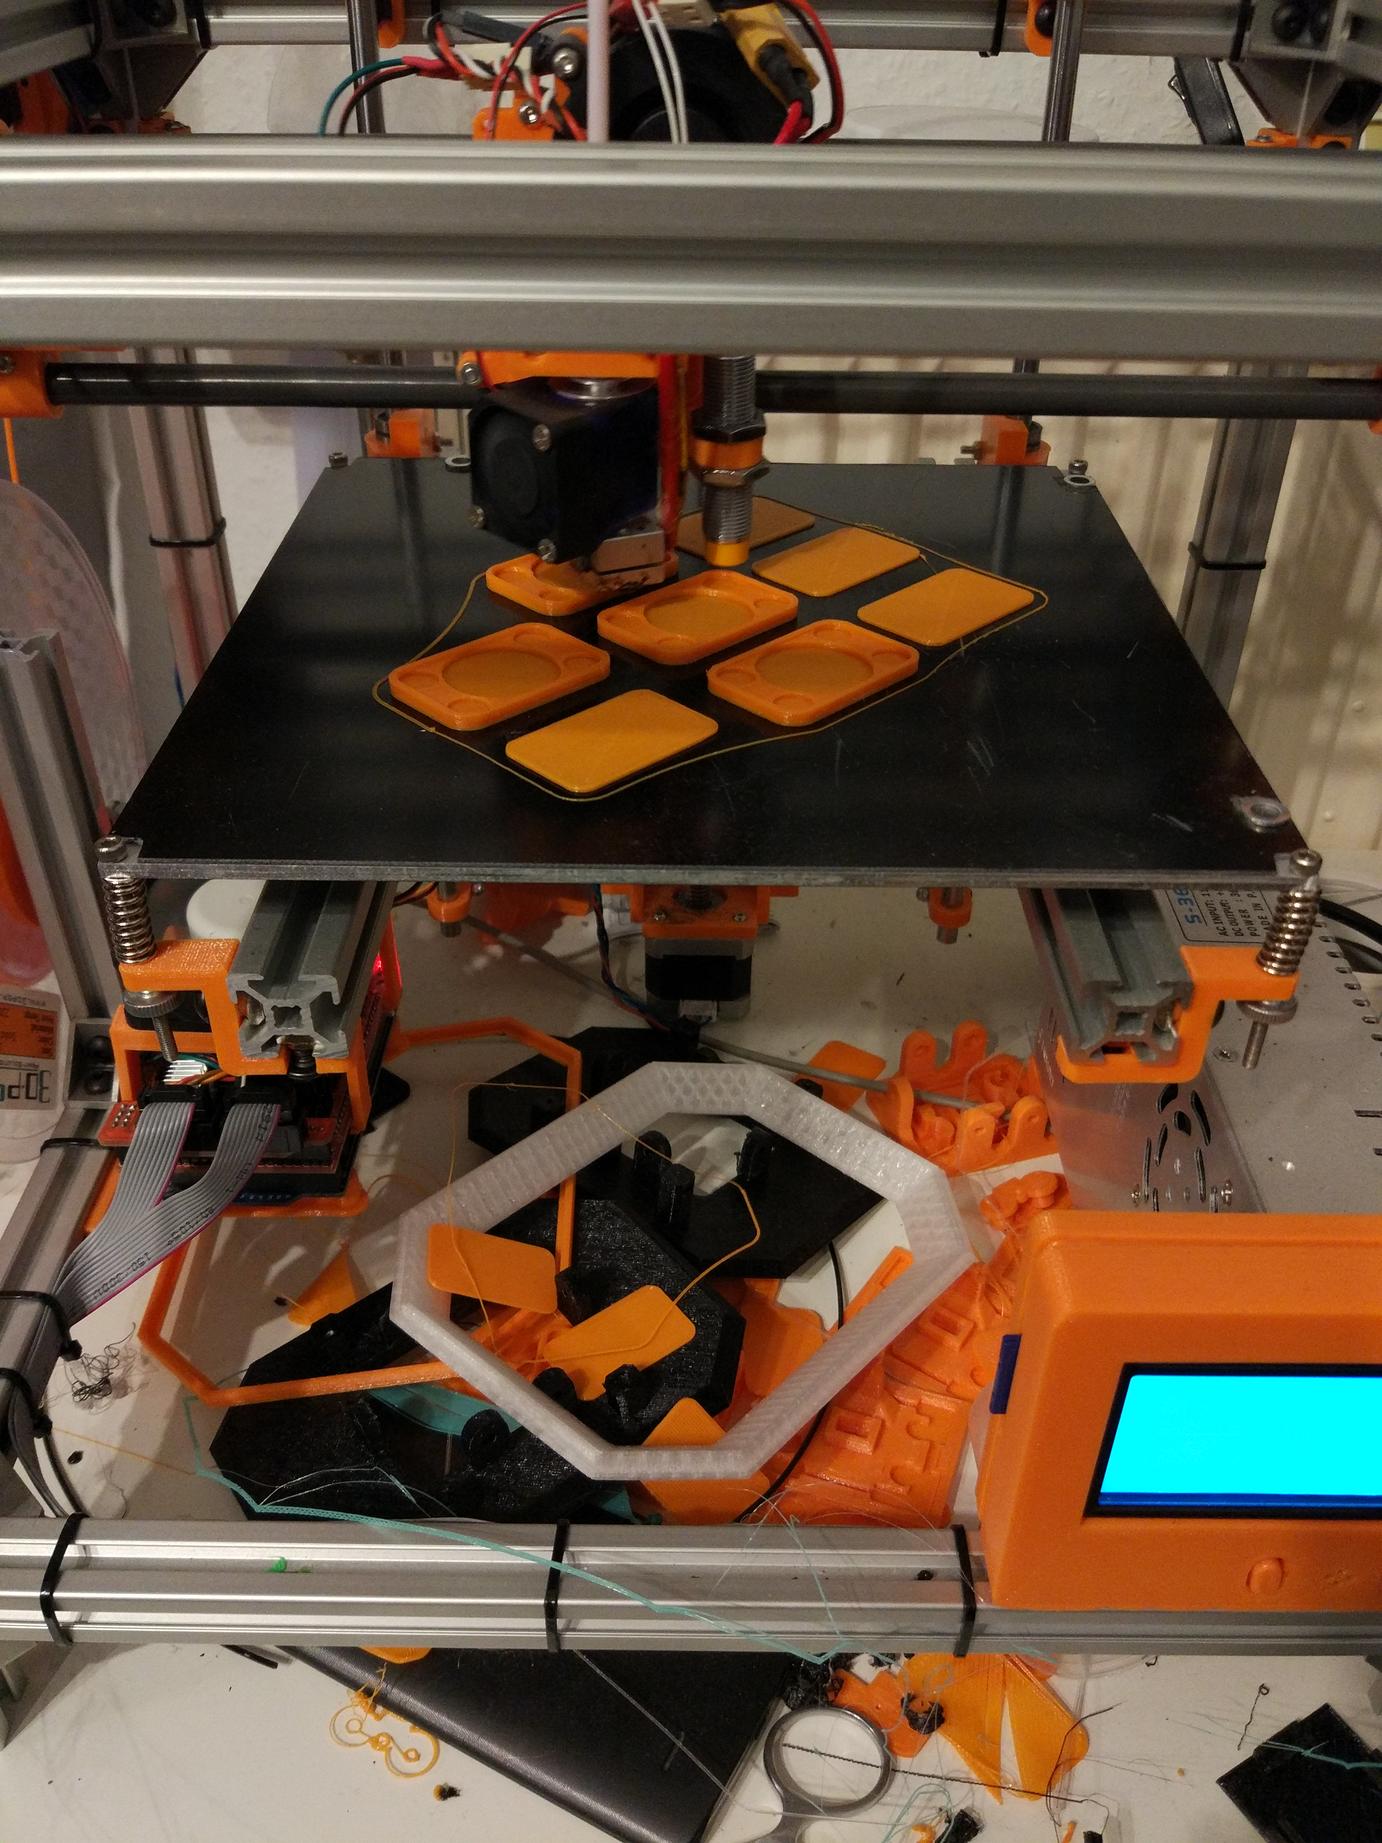
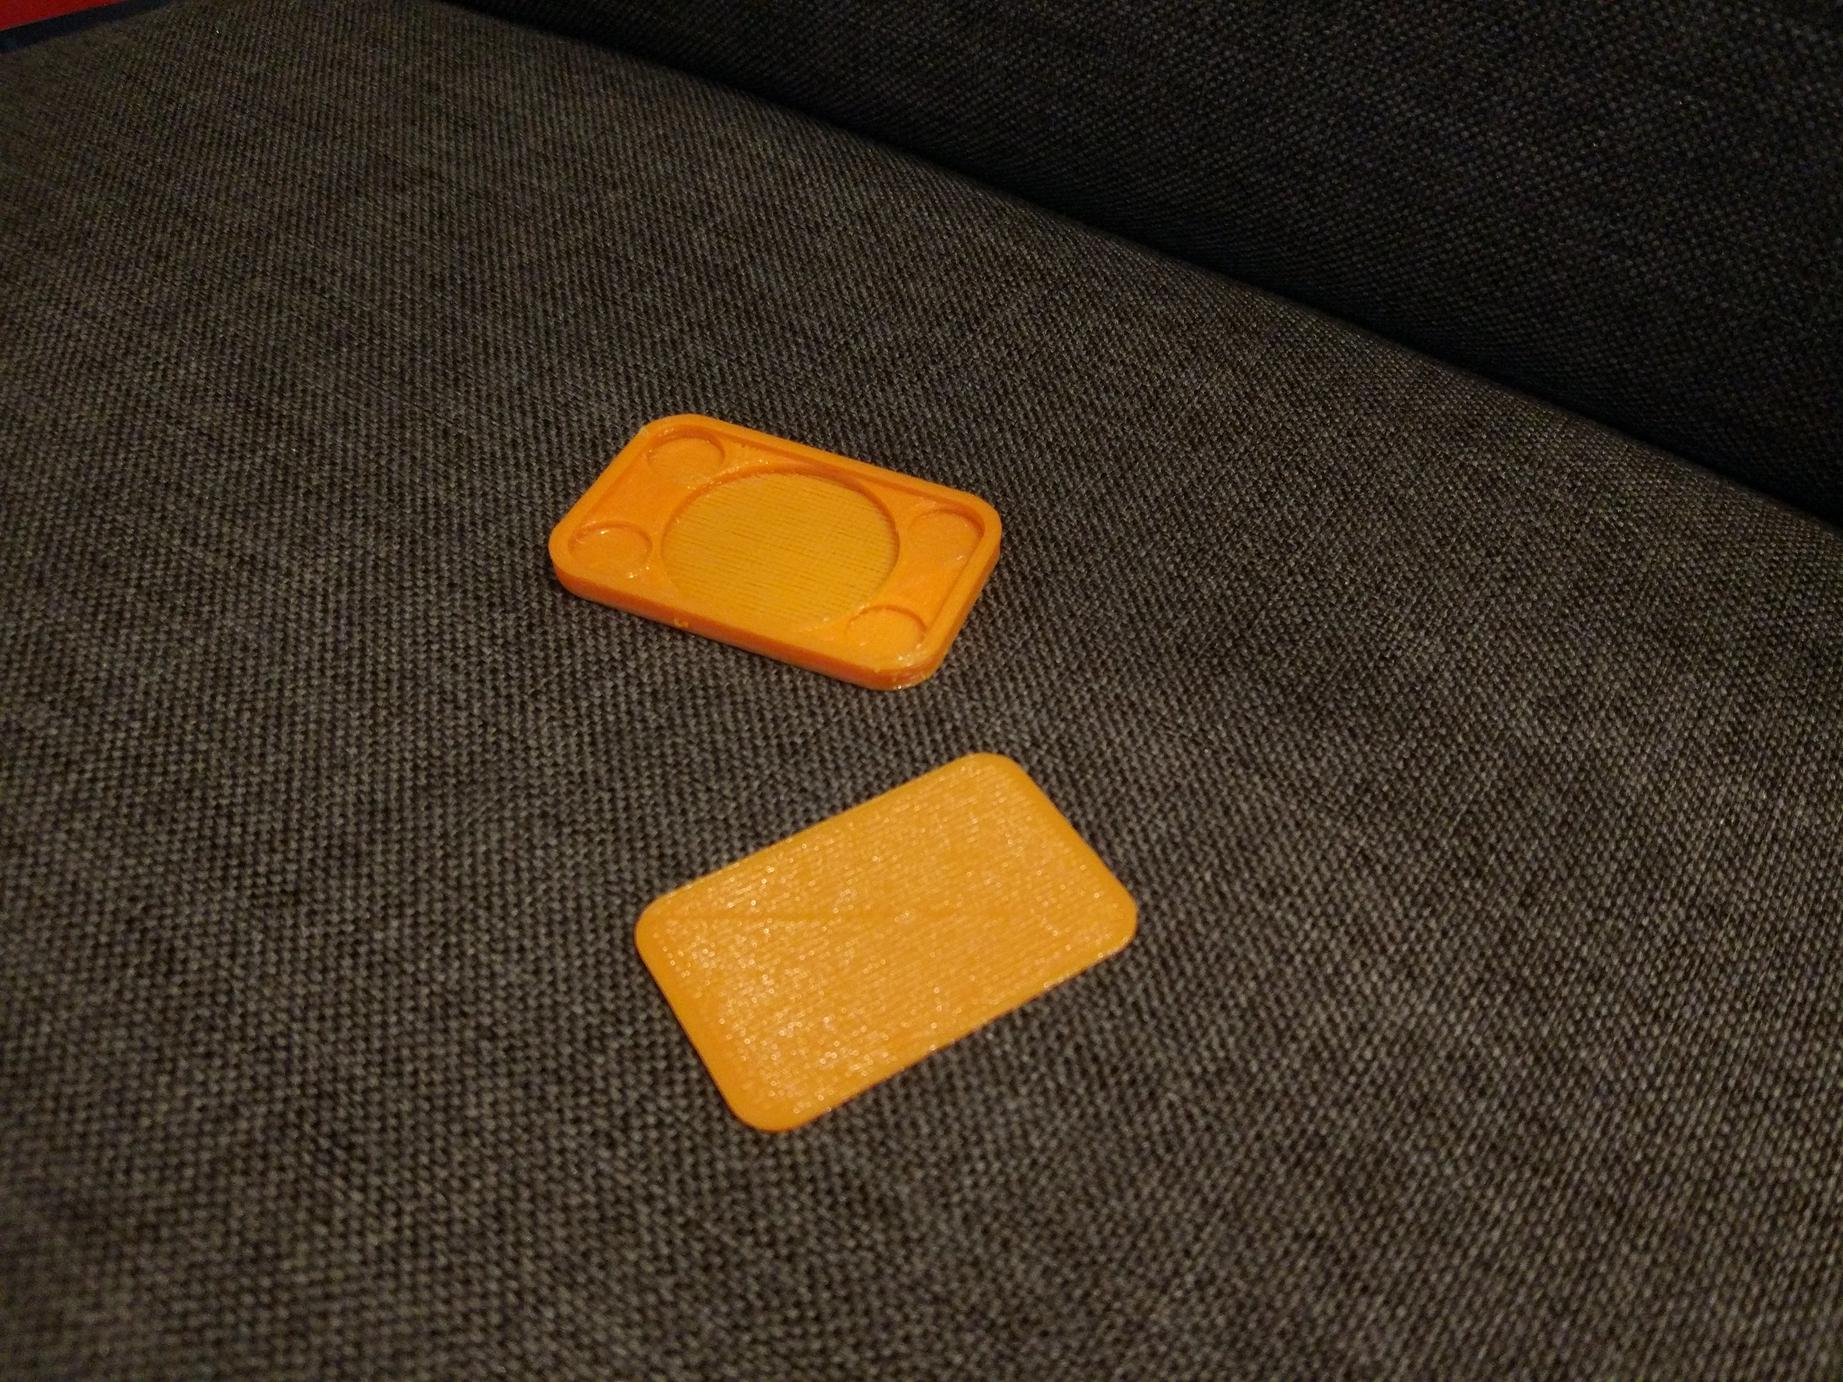
It took a few design and print iterations to find a good thickness and form factor for the RFID tag enclosure. Because each of these plastic parts is pretty small and can be printed within minutes, that phase was rapid prototyping at its best.
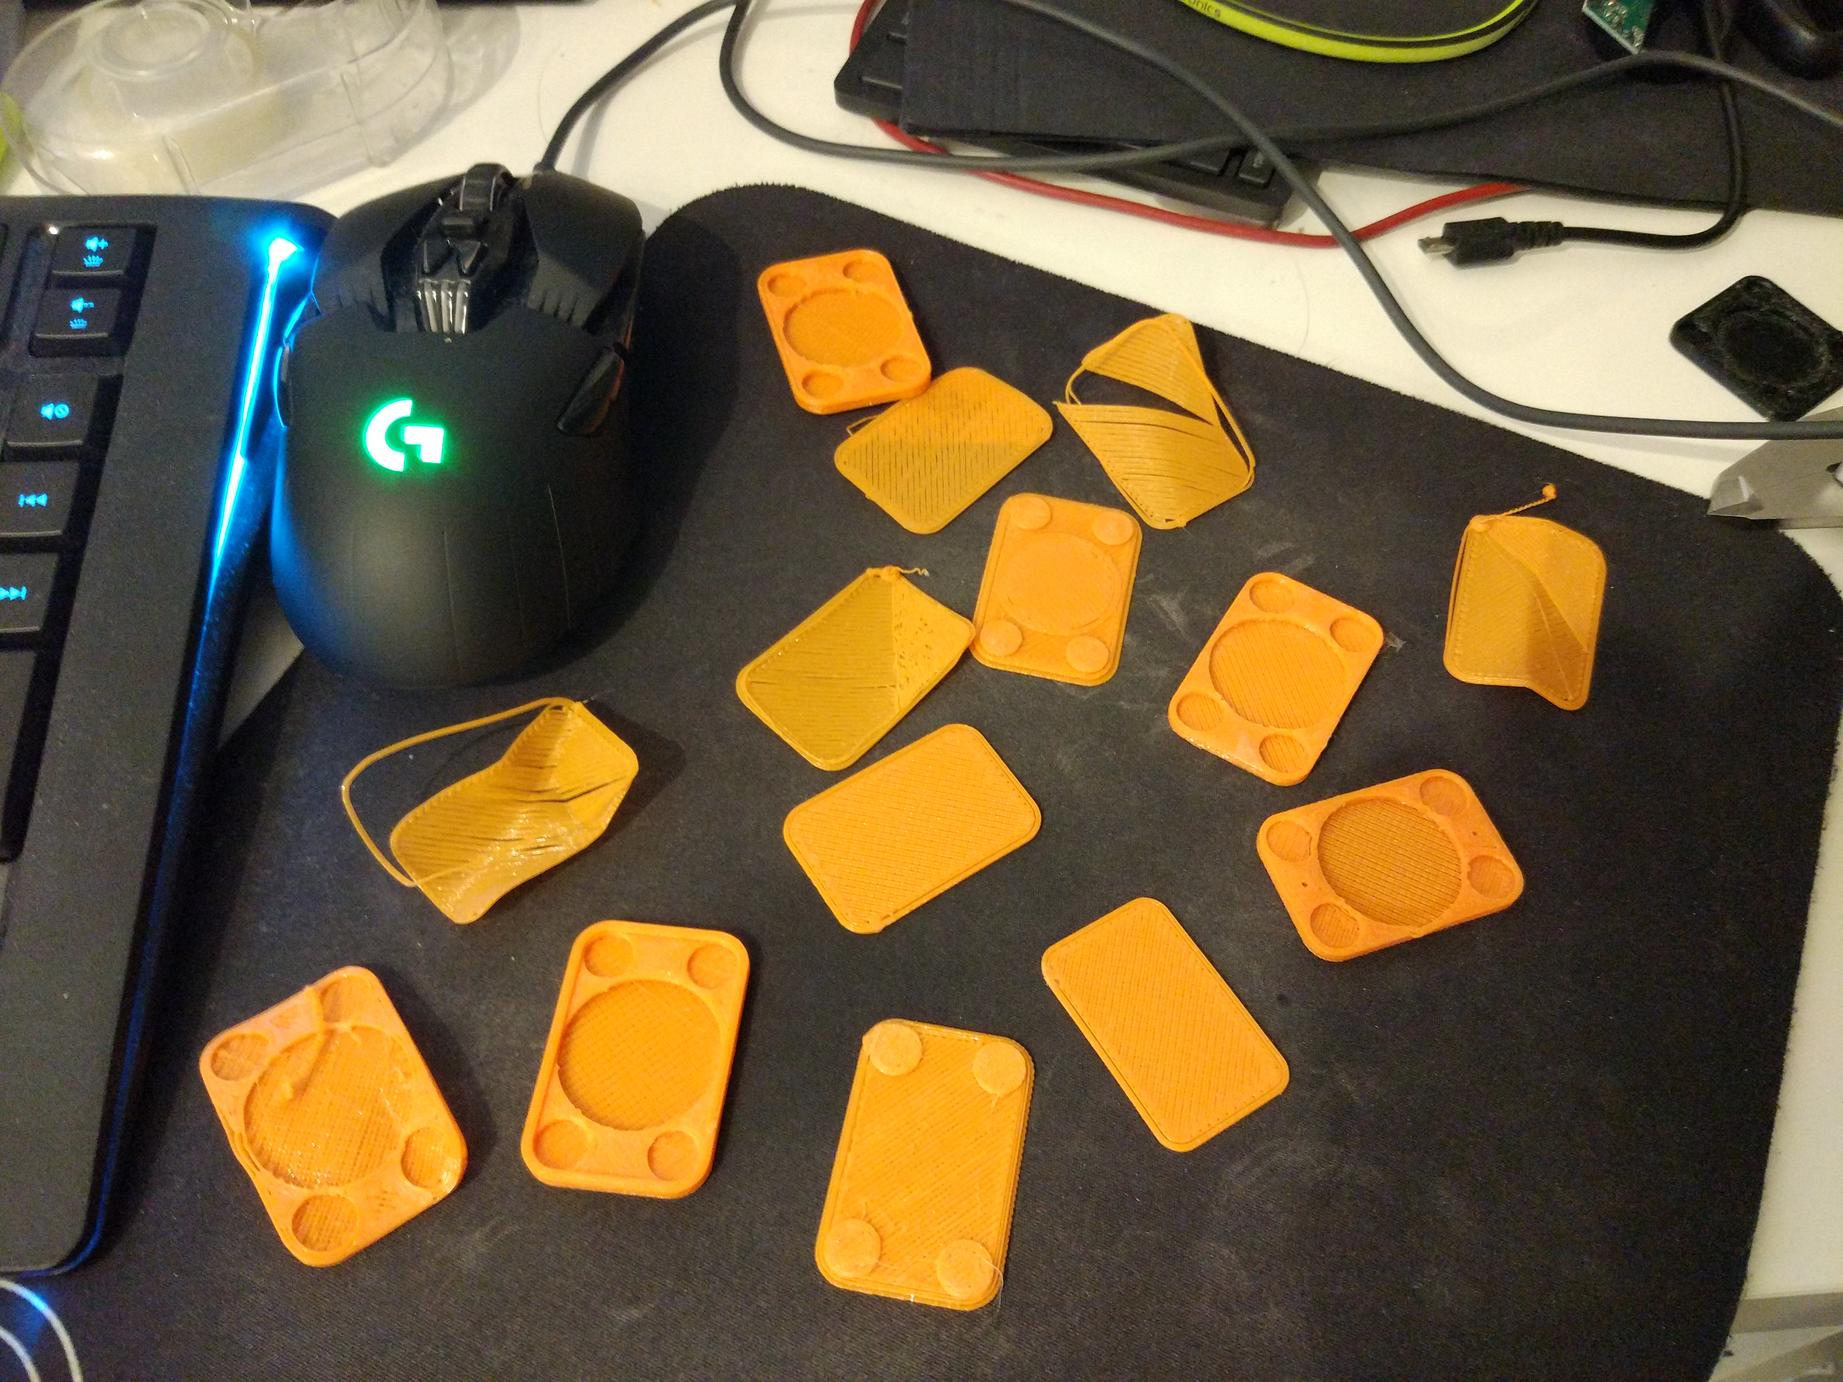
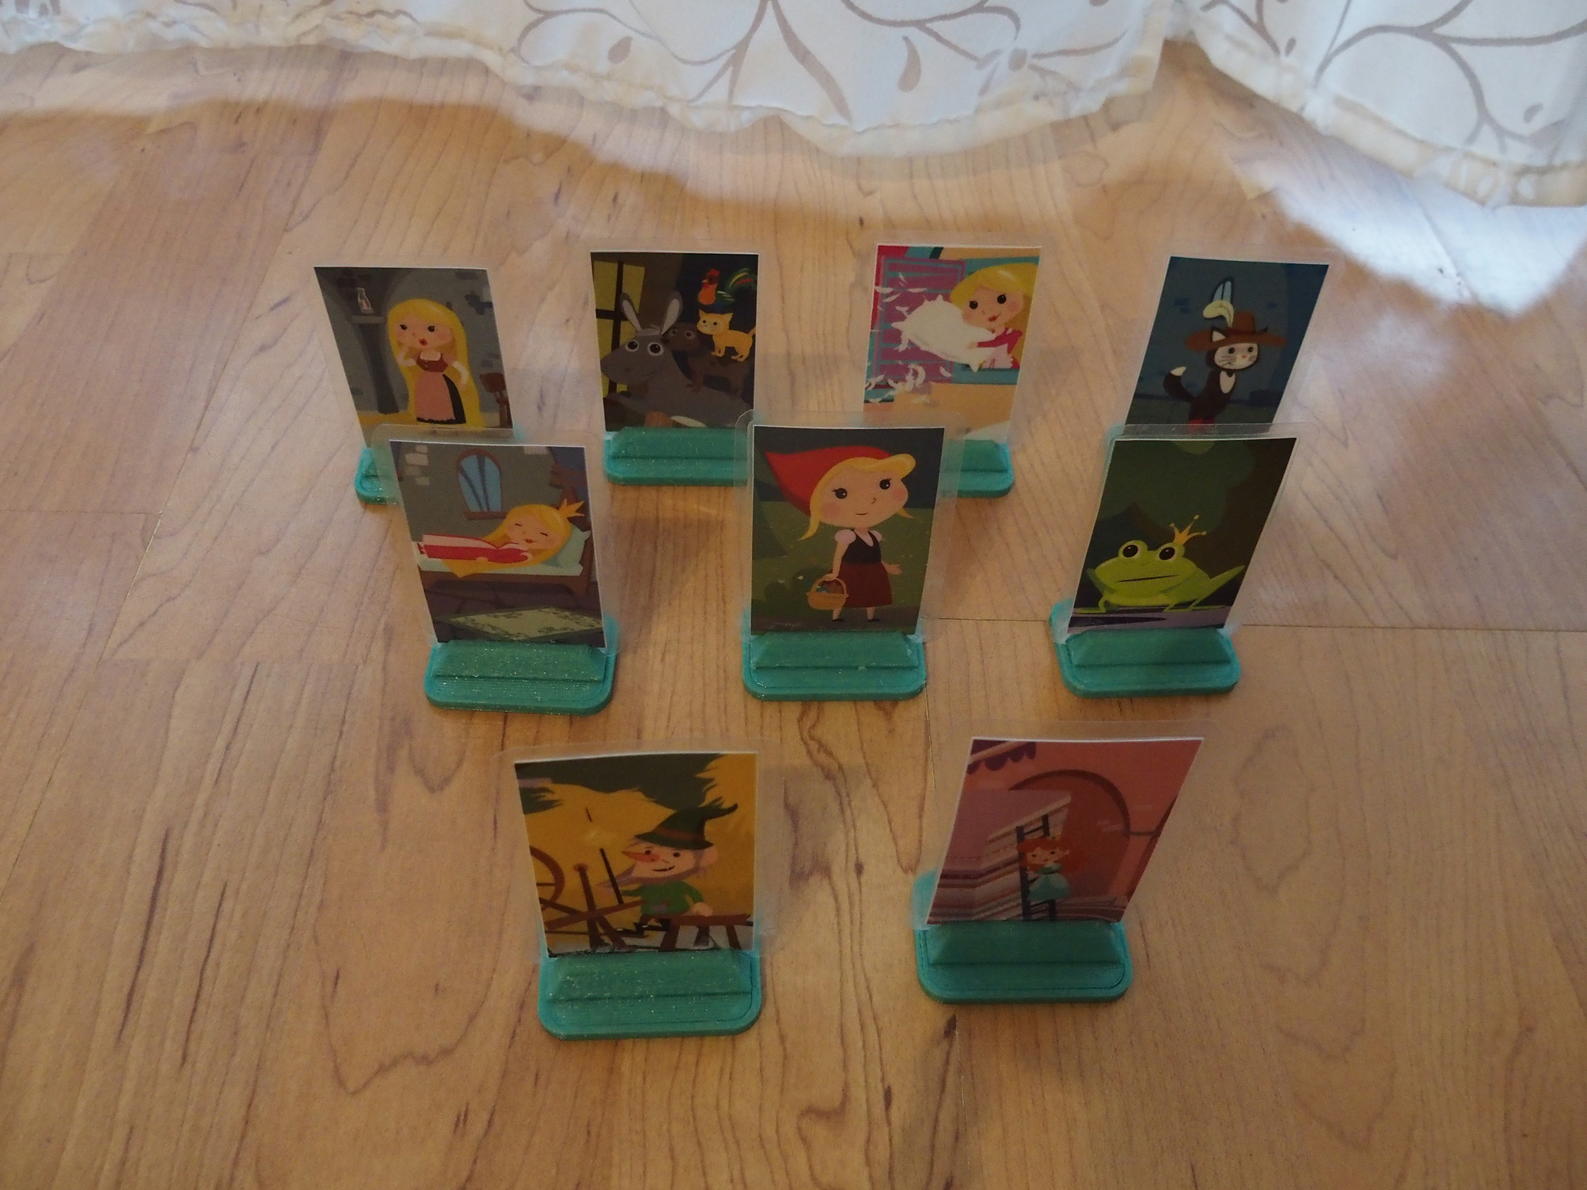
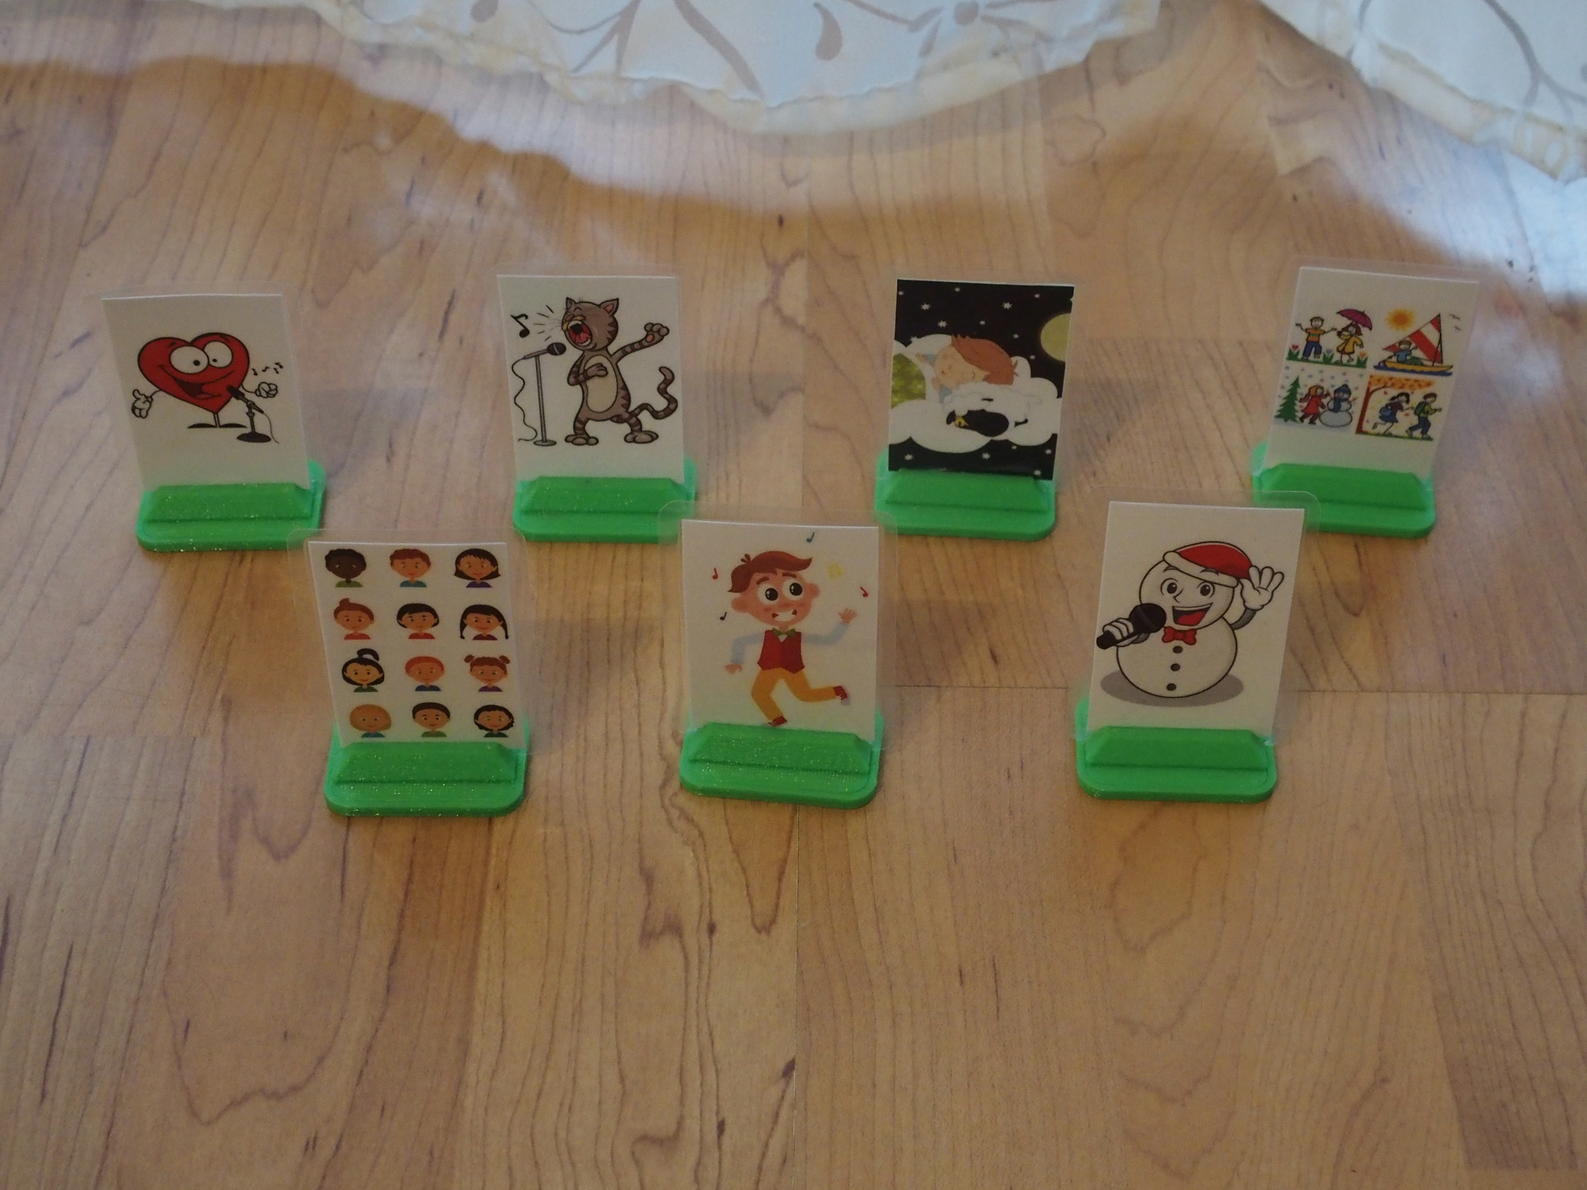
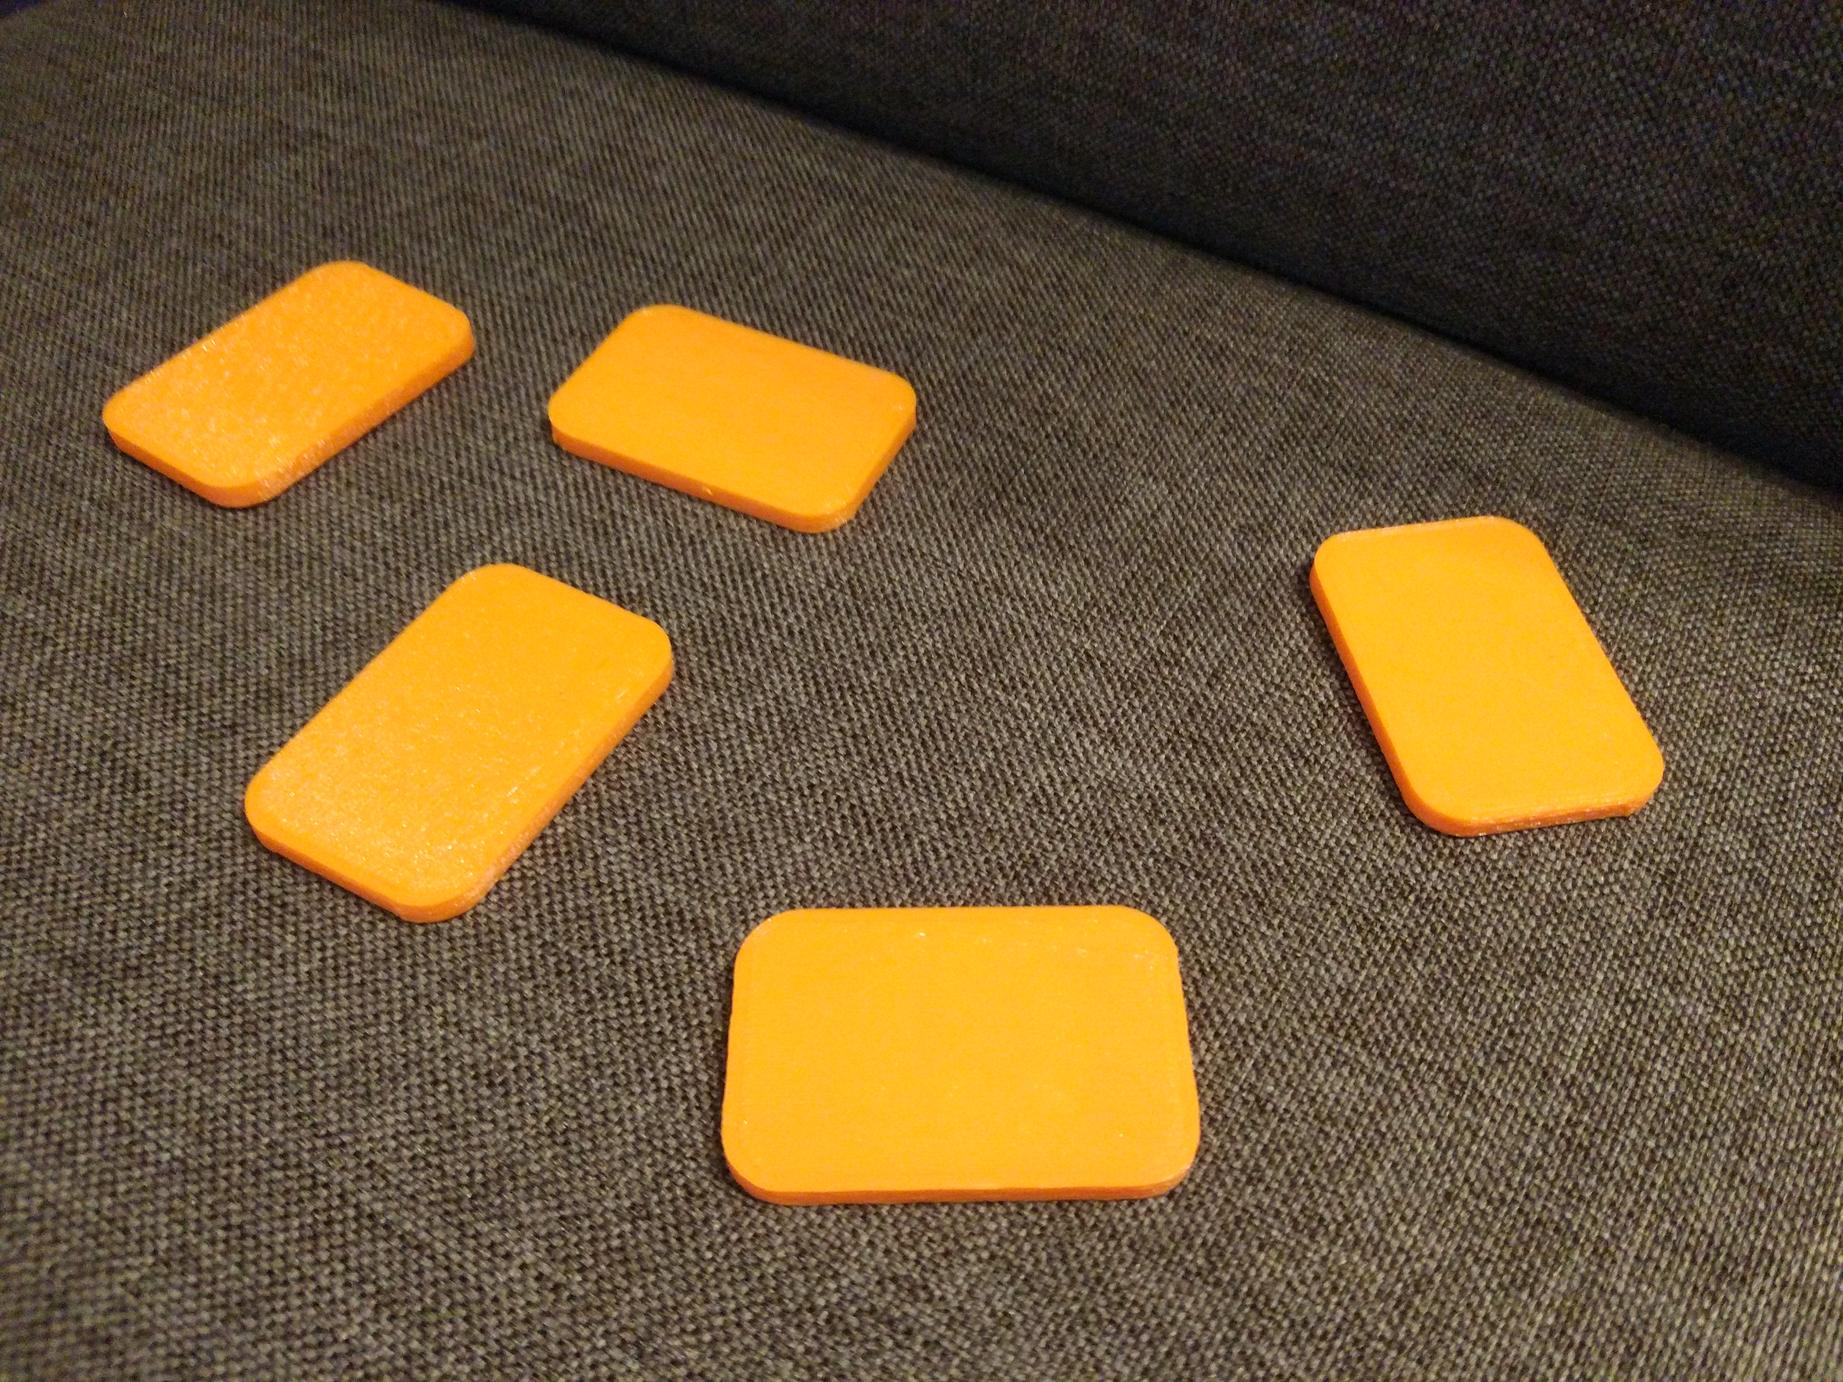
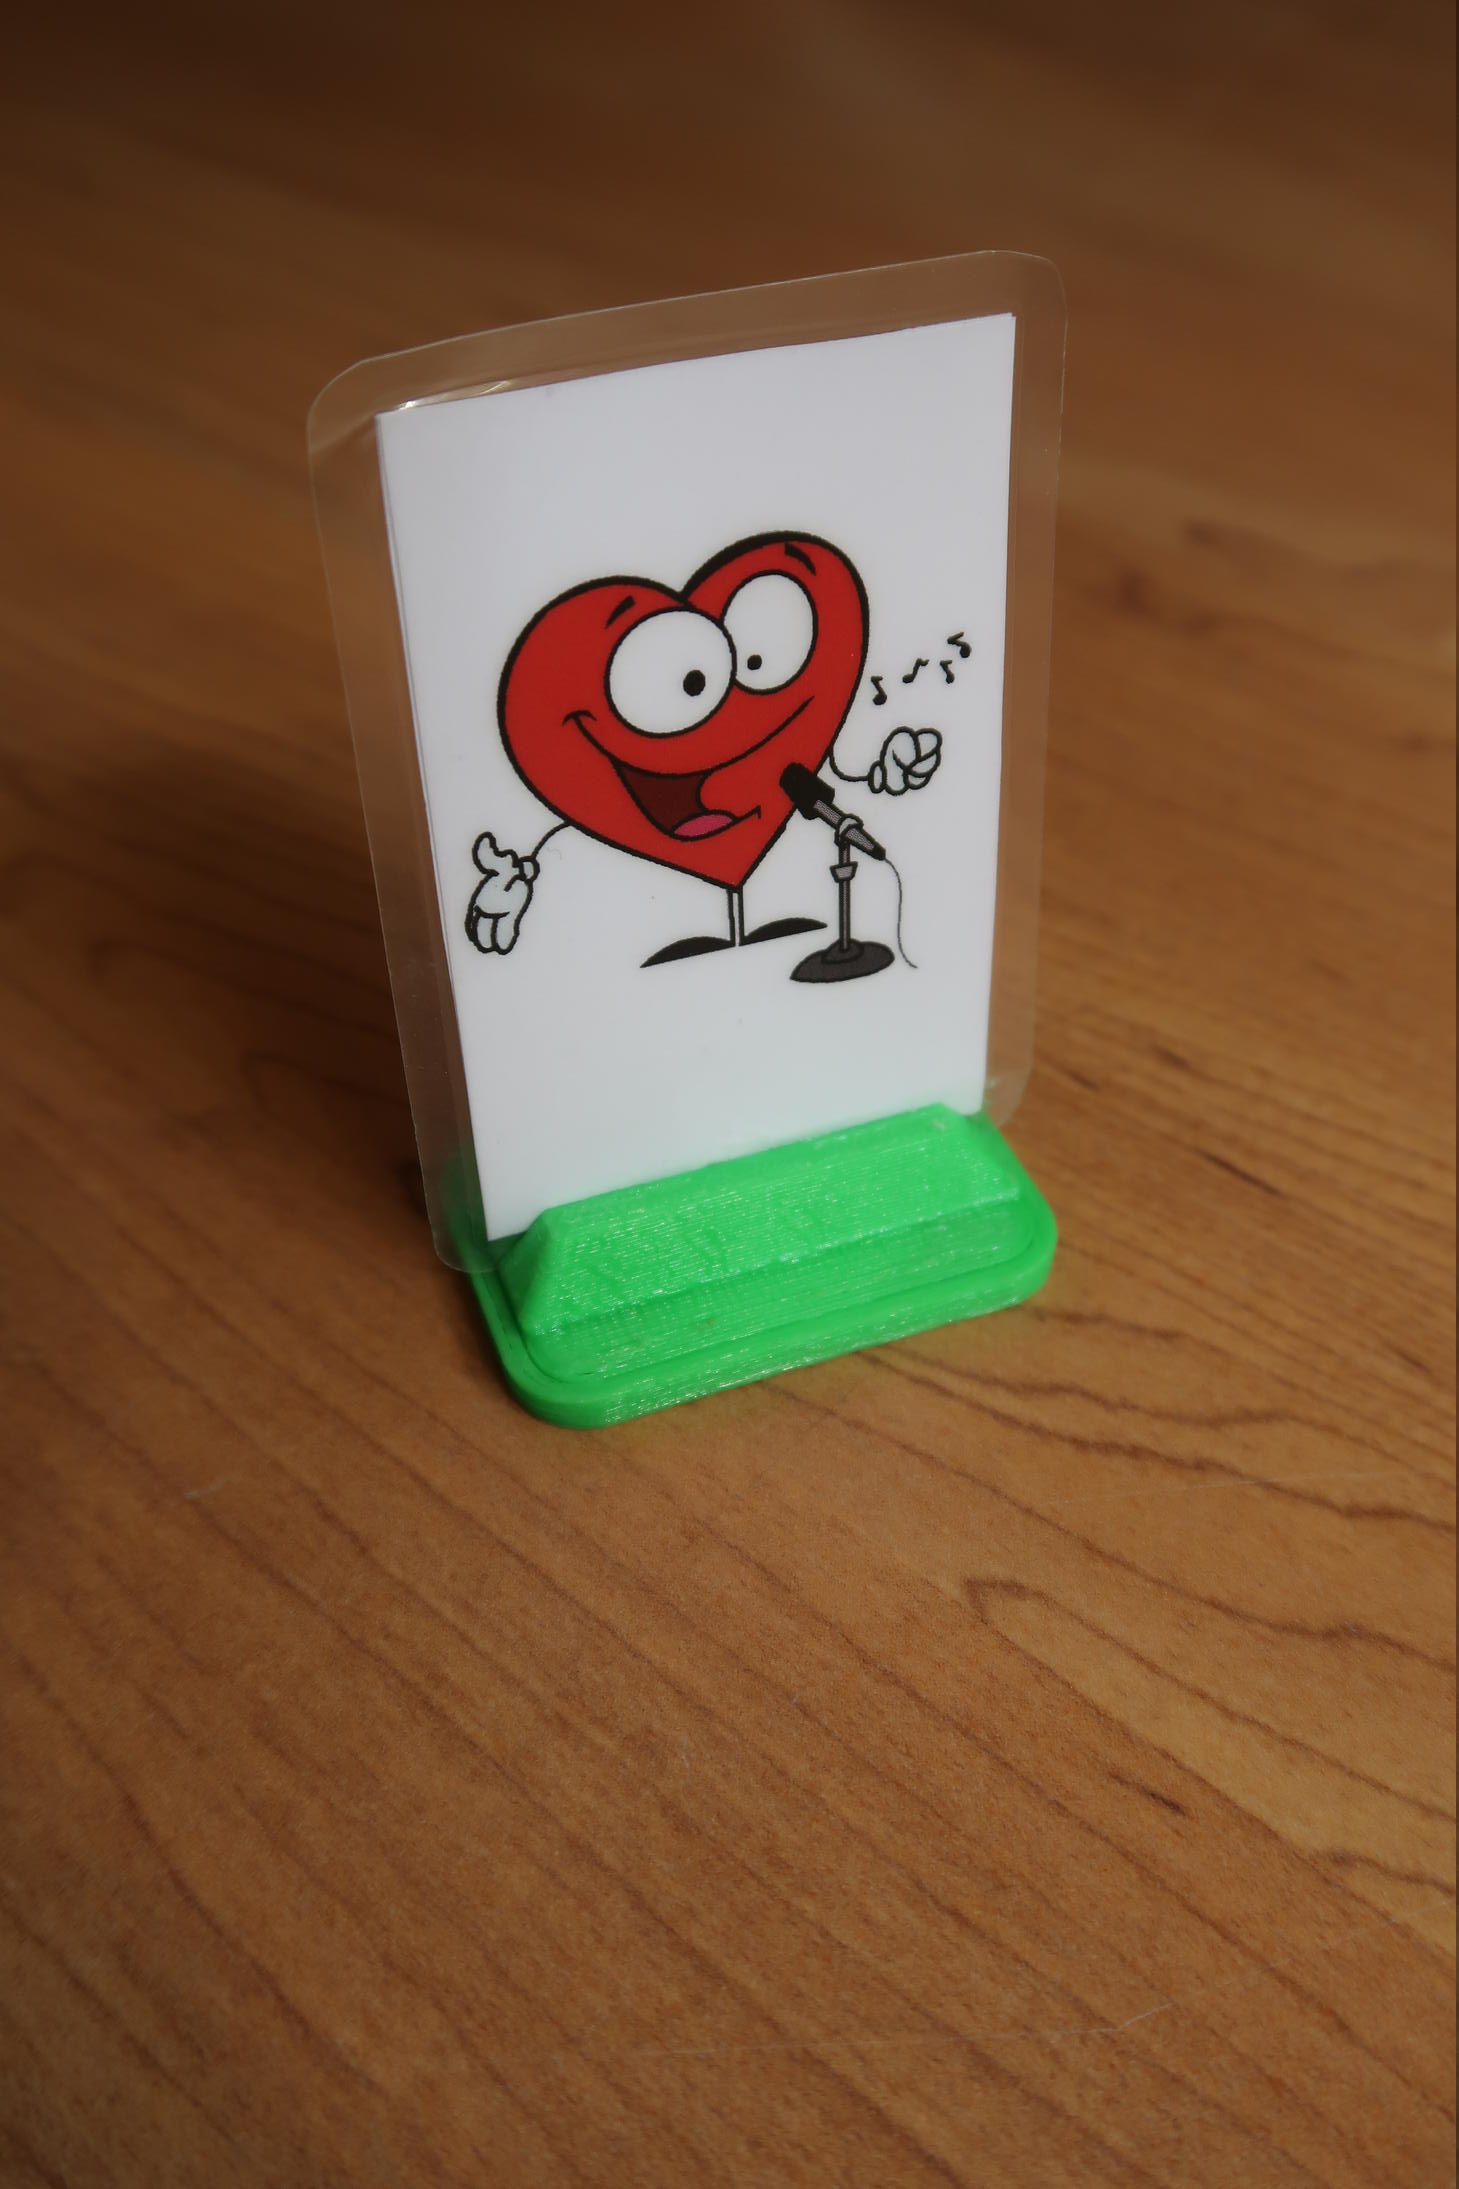
I finally came up with three cover plates for different purposes. Using the flat one simply creates a magnetic RFID tag onto which another item may be glued. Depending on the addon size, these simple plastic tags come in different dimensions. The second type holds a key chain photo frame. Yet another version is specifically designed to hold small laminated slips of paper.
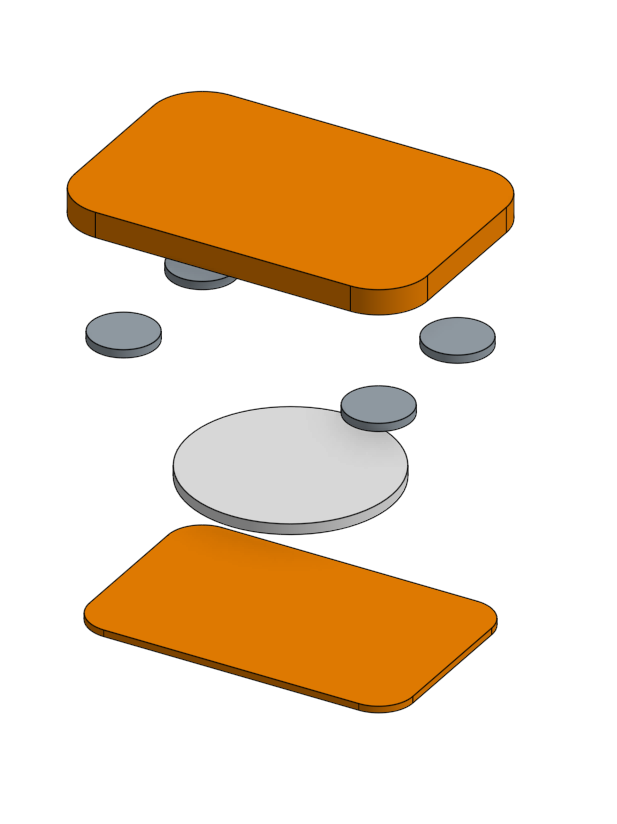
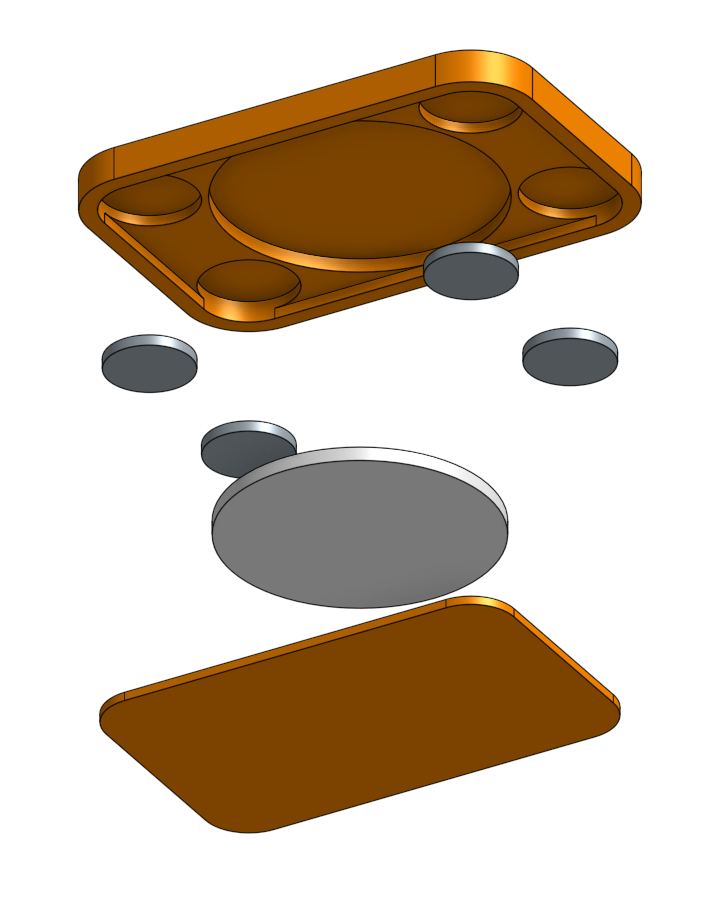
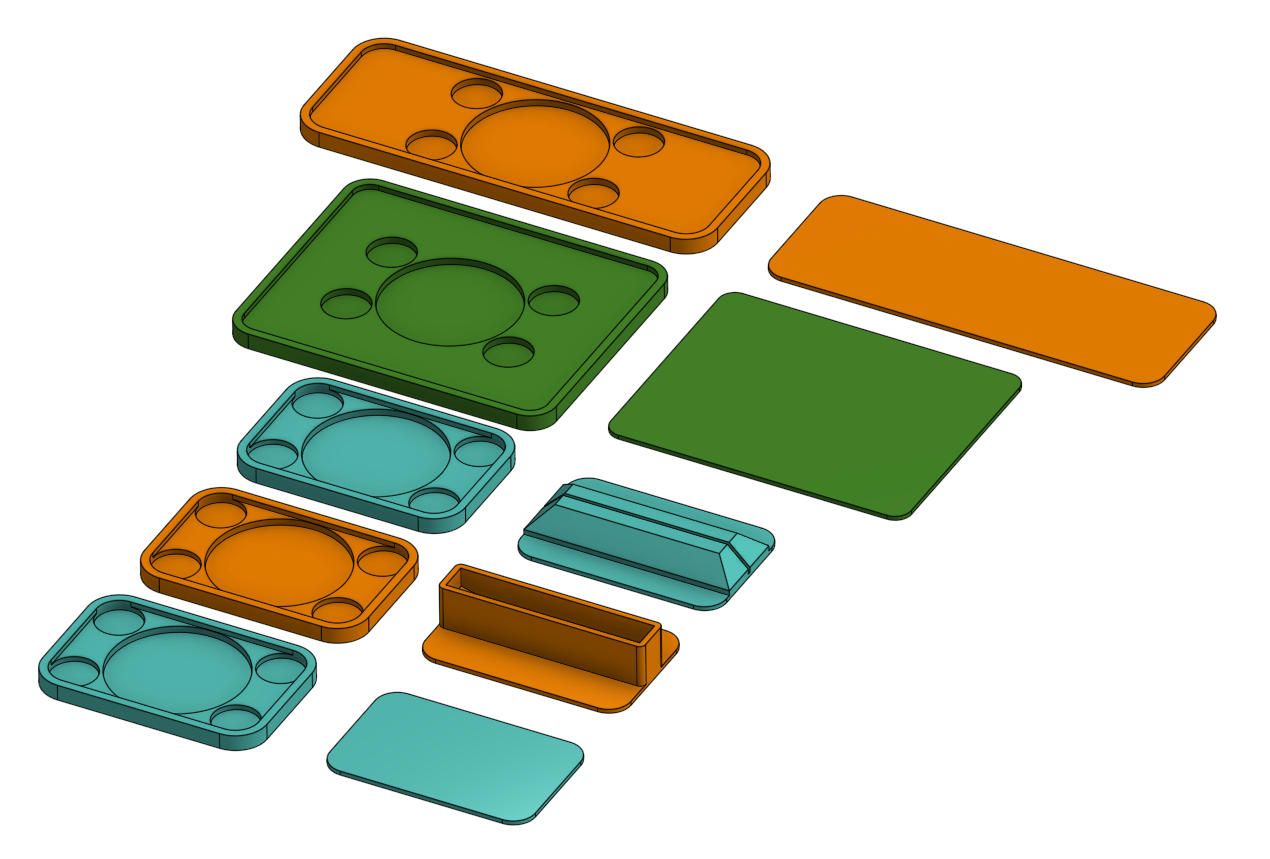
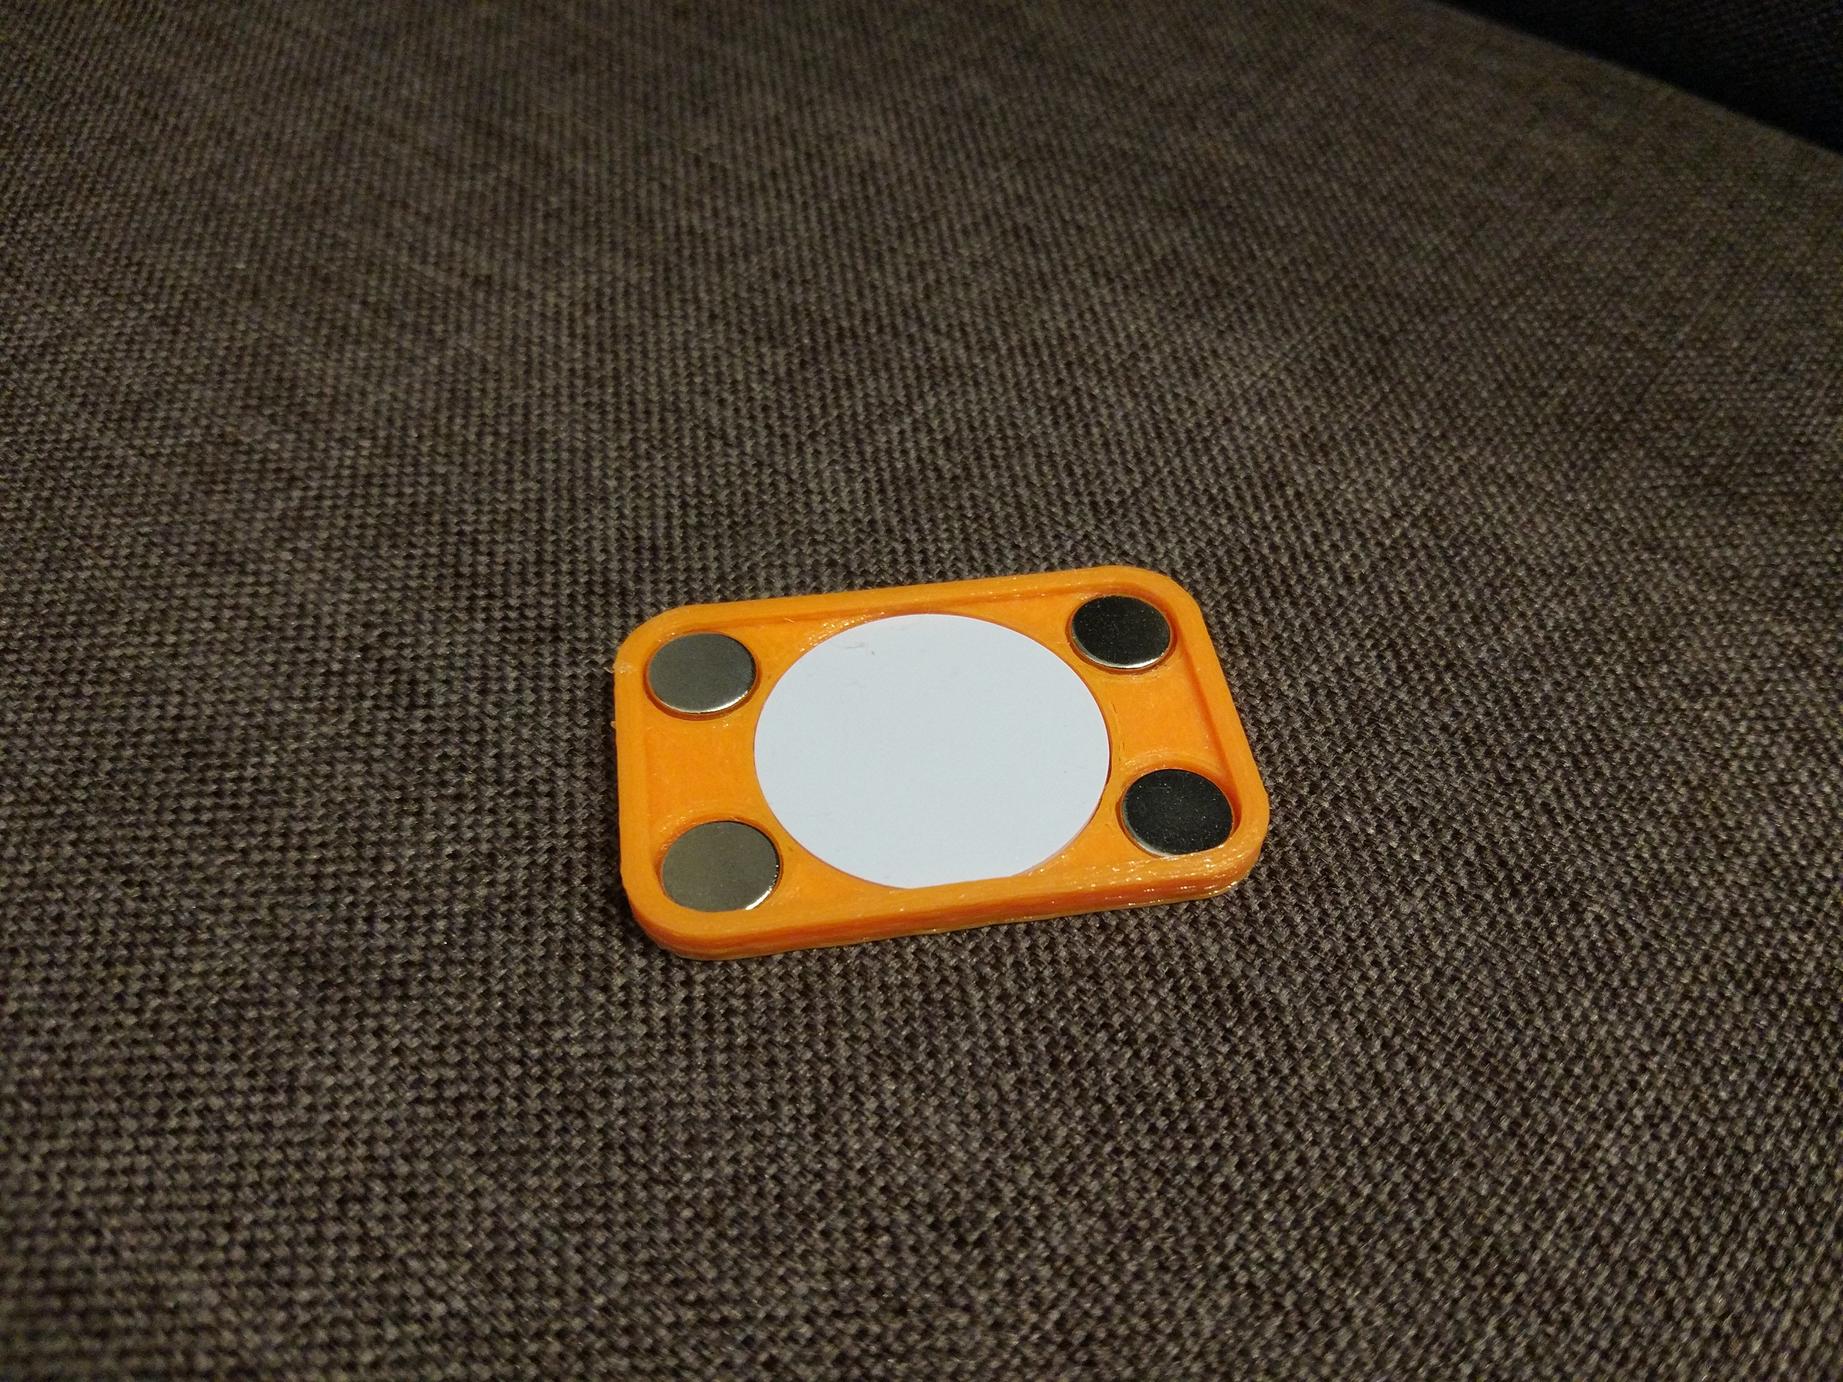
To assemble one of these pieces one just needs to use the included adhesive of the RFID tag, press it into the enclosure, insert 8mm by 1mm round magnets (which are really attracted to each other), add some superglue to all these parts and finally snap one of the cover plates in position. The finished product looks really clean.
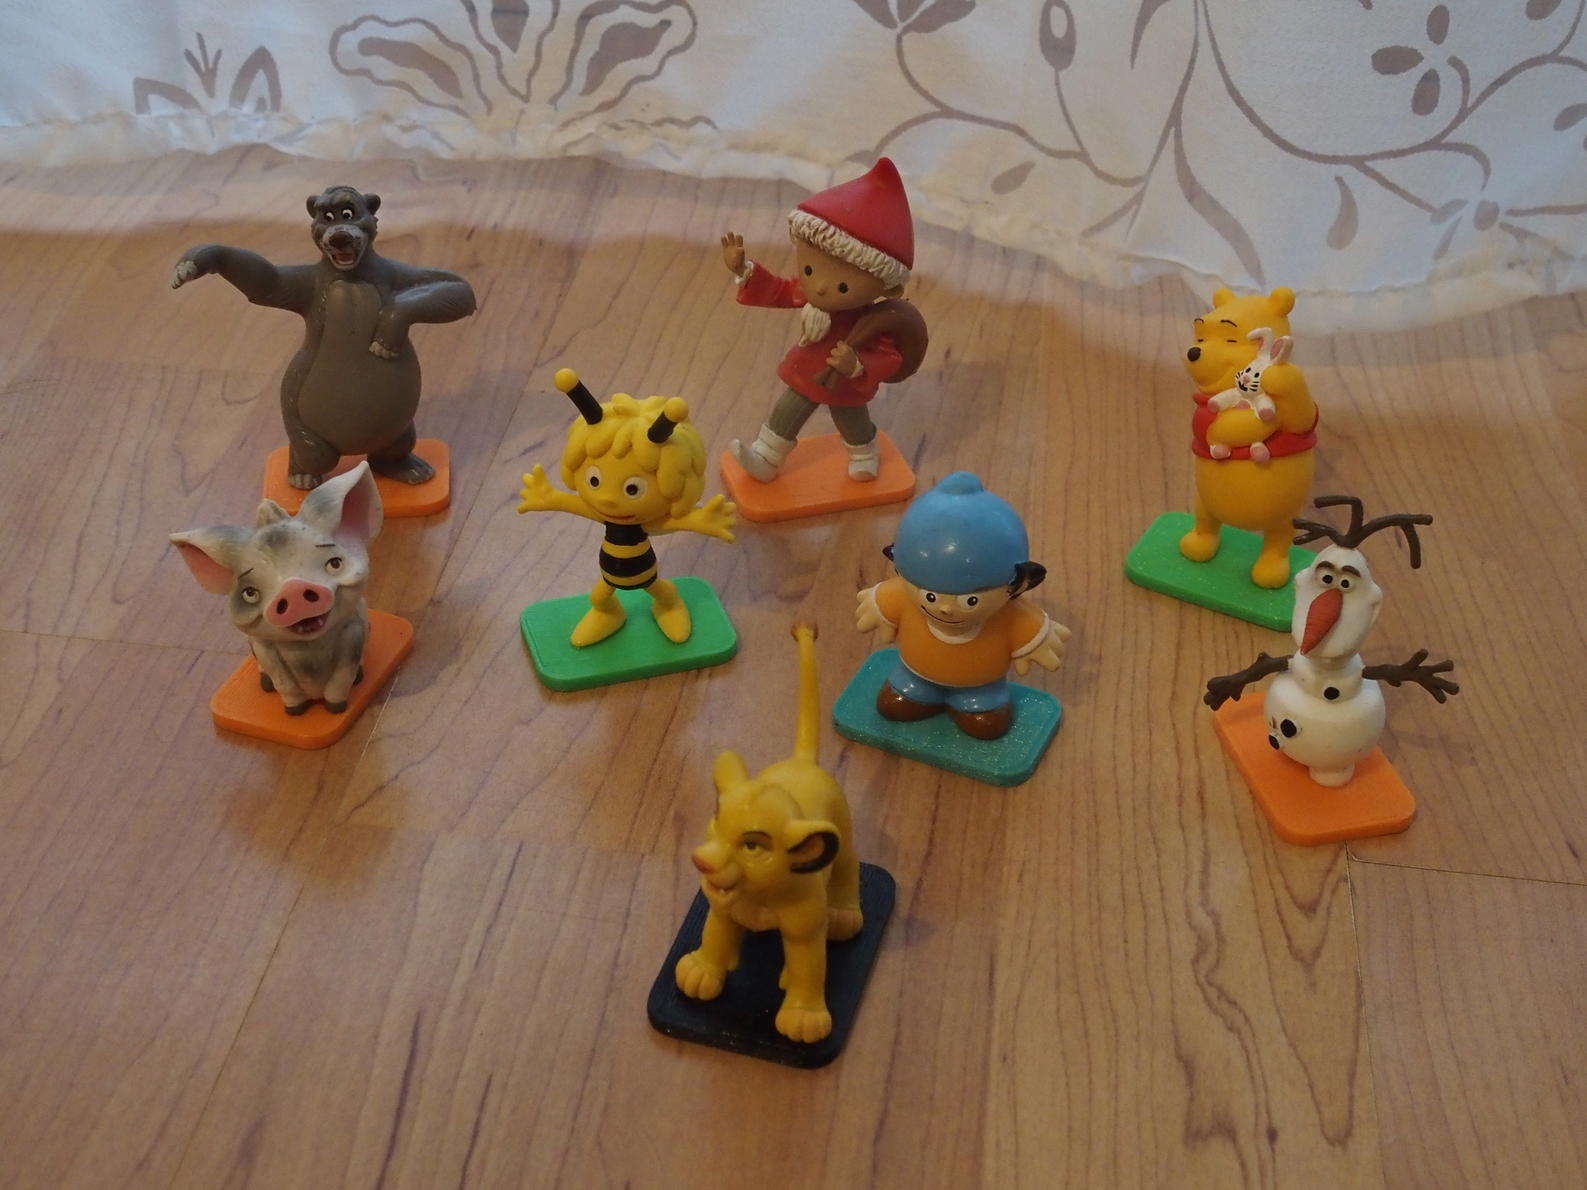
The next thing to do is to go to the next flea market, get some cheap toy animals, TV characters and other child-friendly figures. Just ask other families for their old toys. Then superglue them onto the RFID tags. The addons didn’t cost more than 1€ each. Most of them were actually under 50 cent per piece.
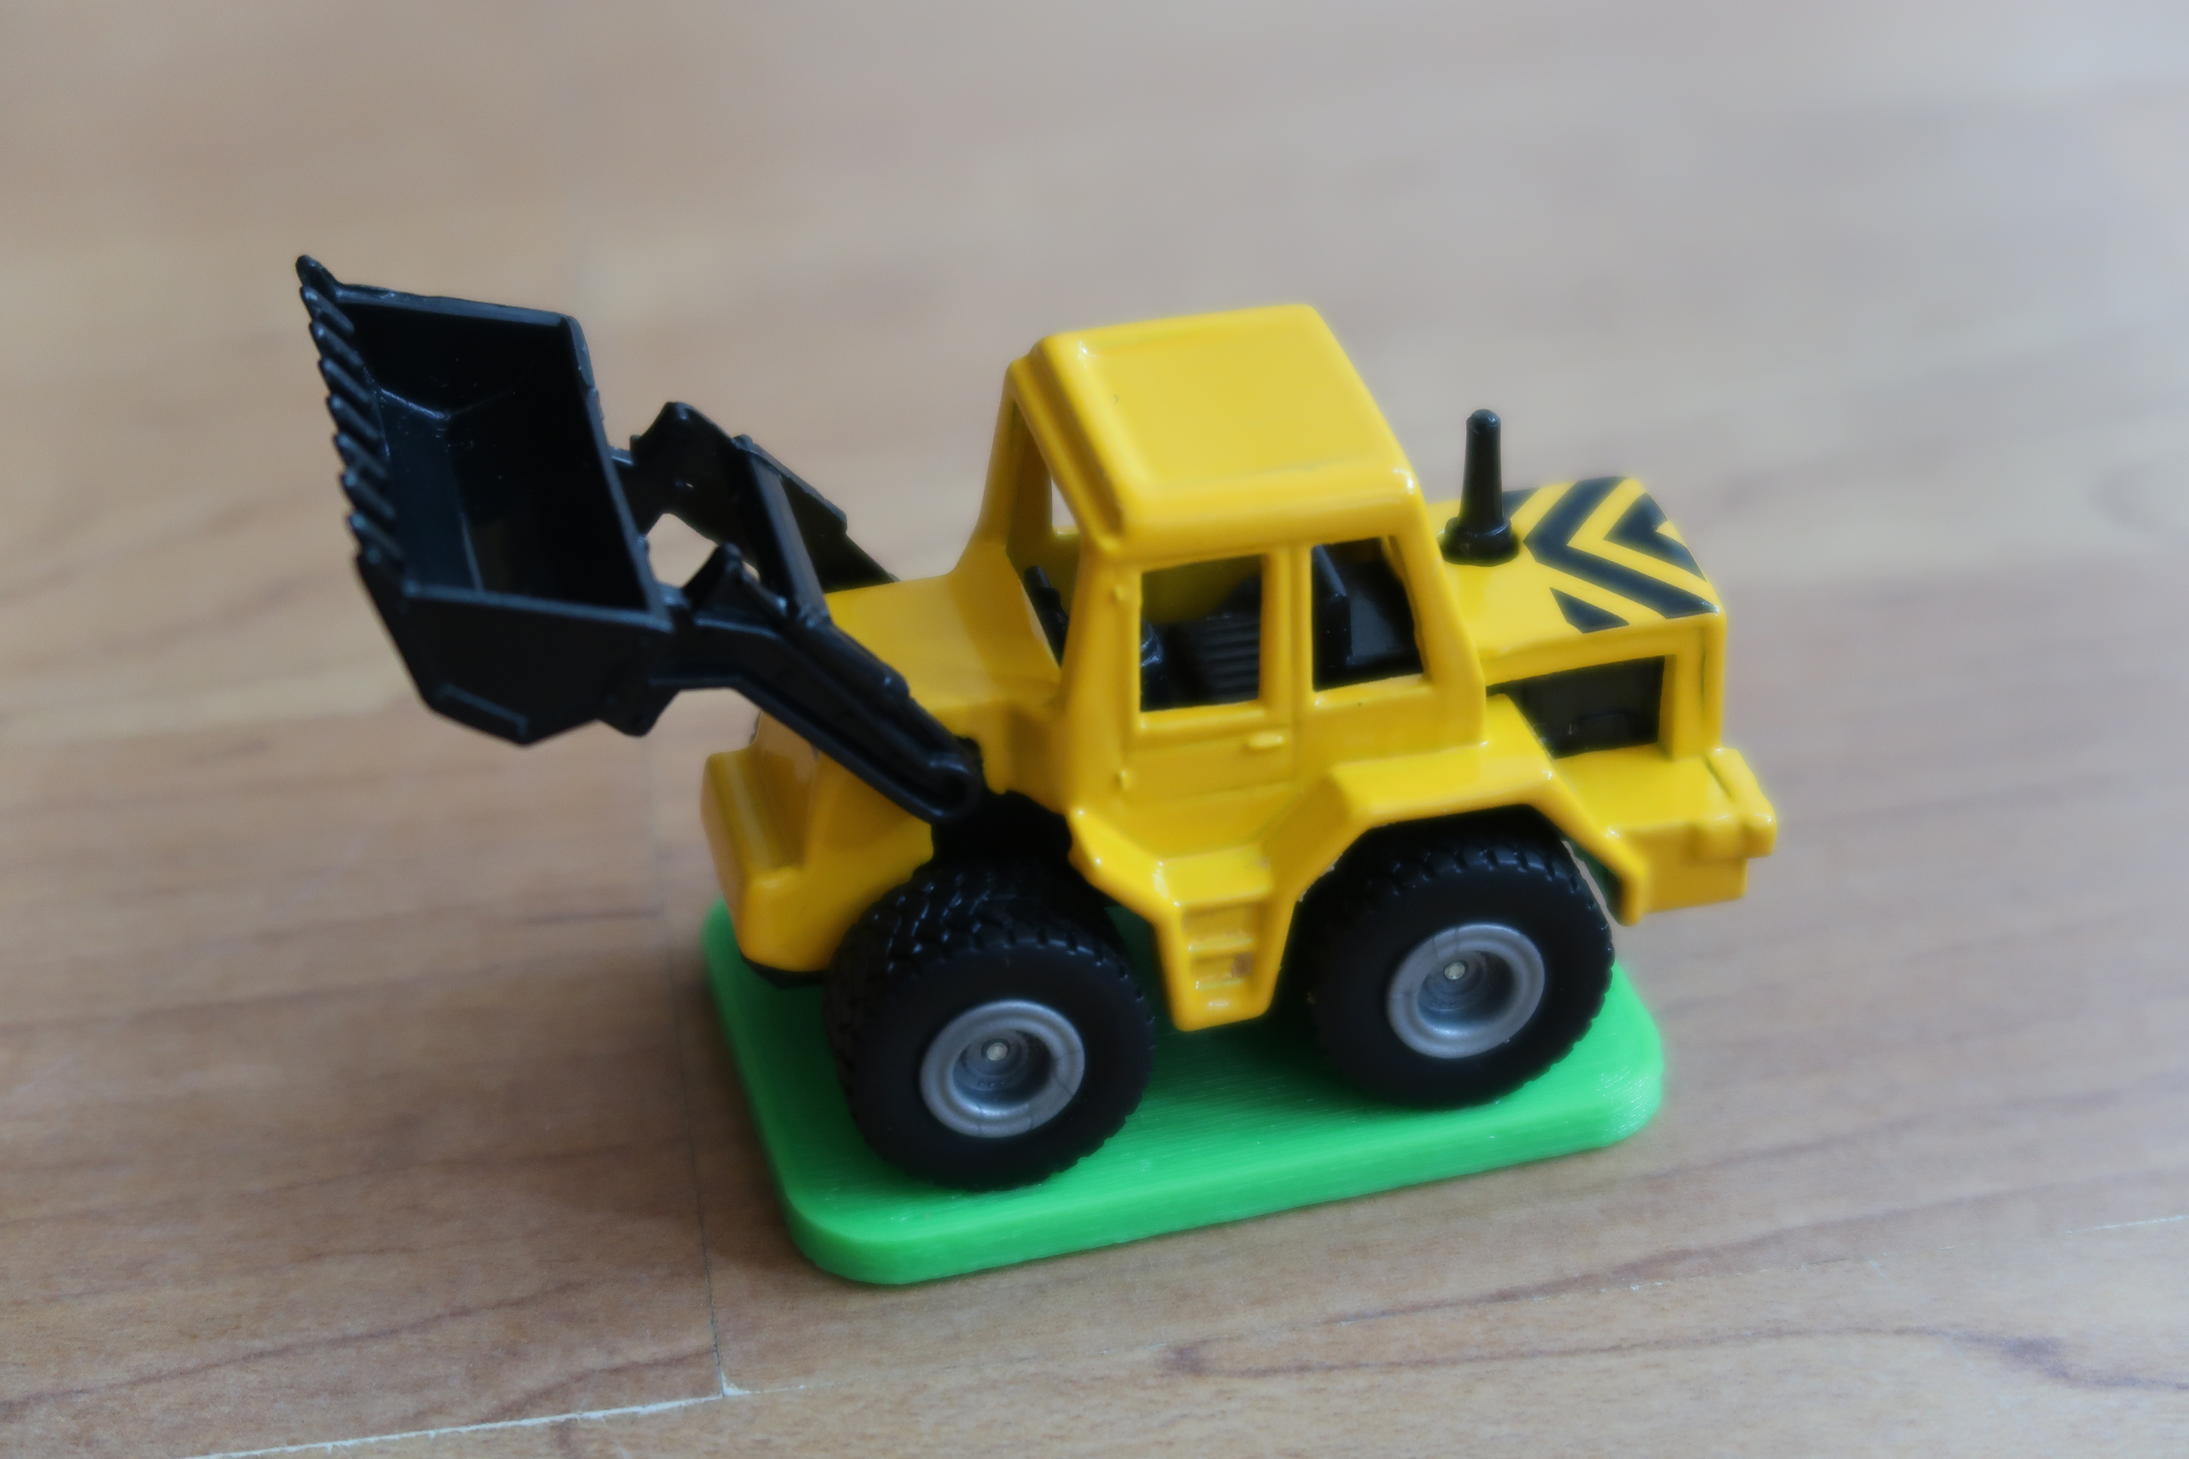
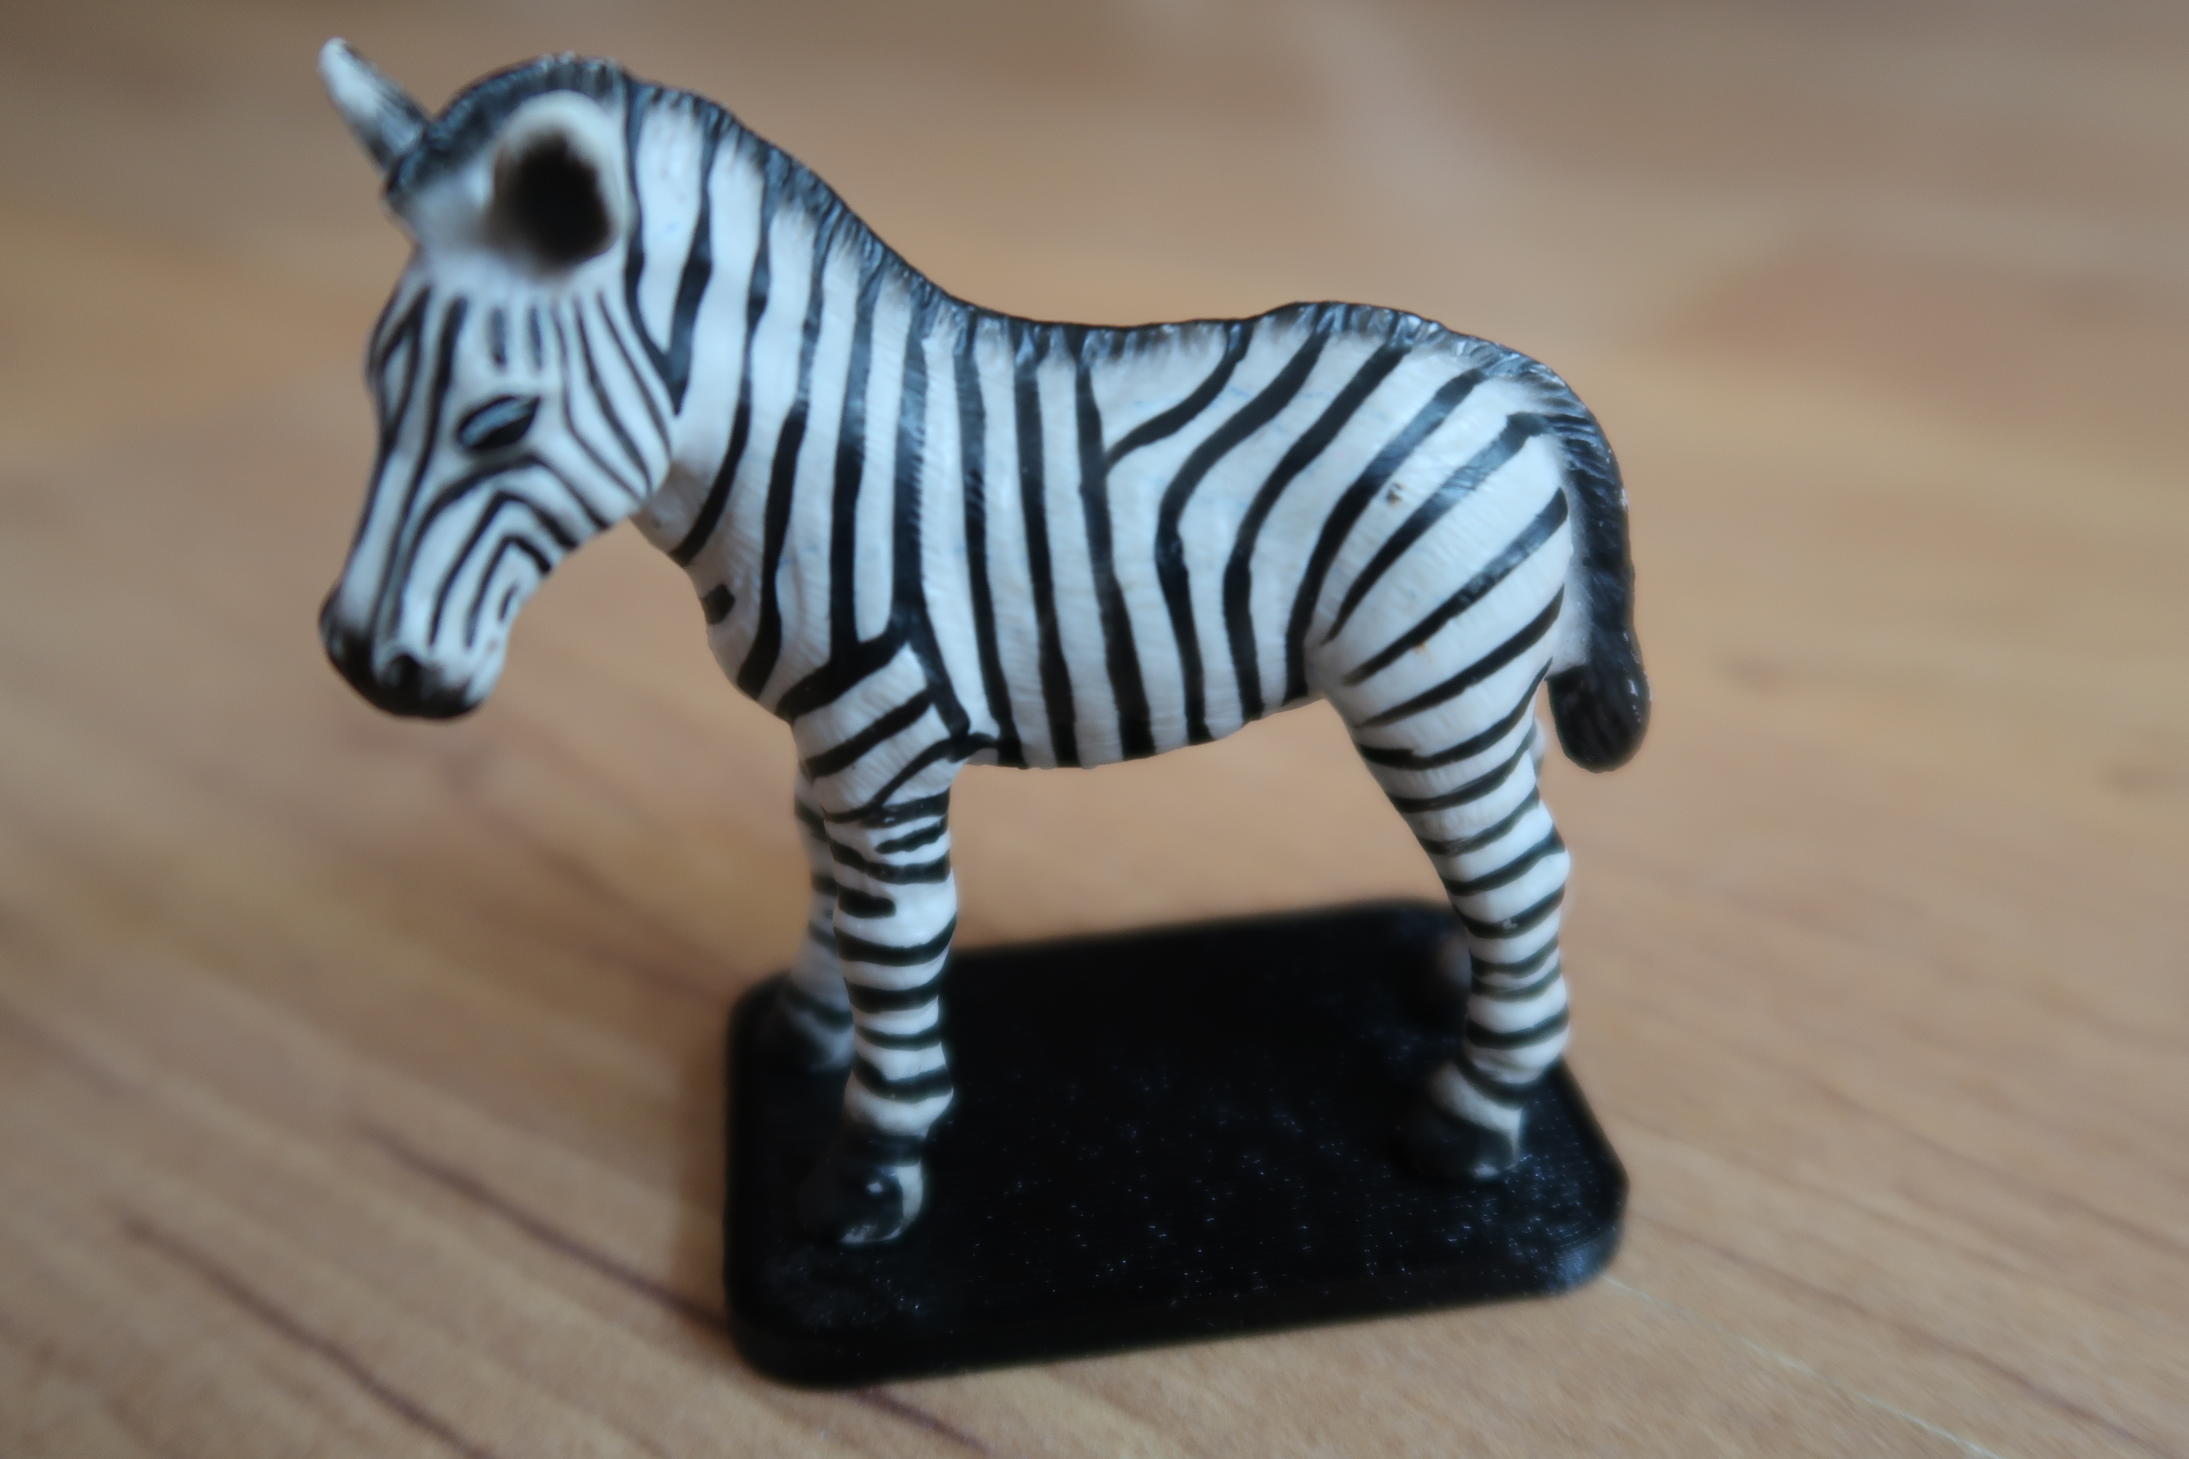
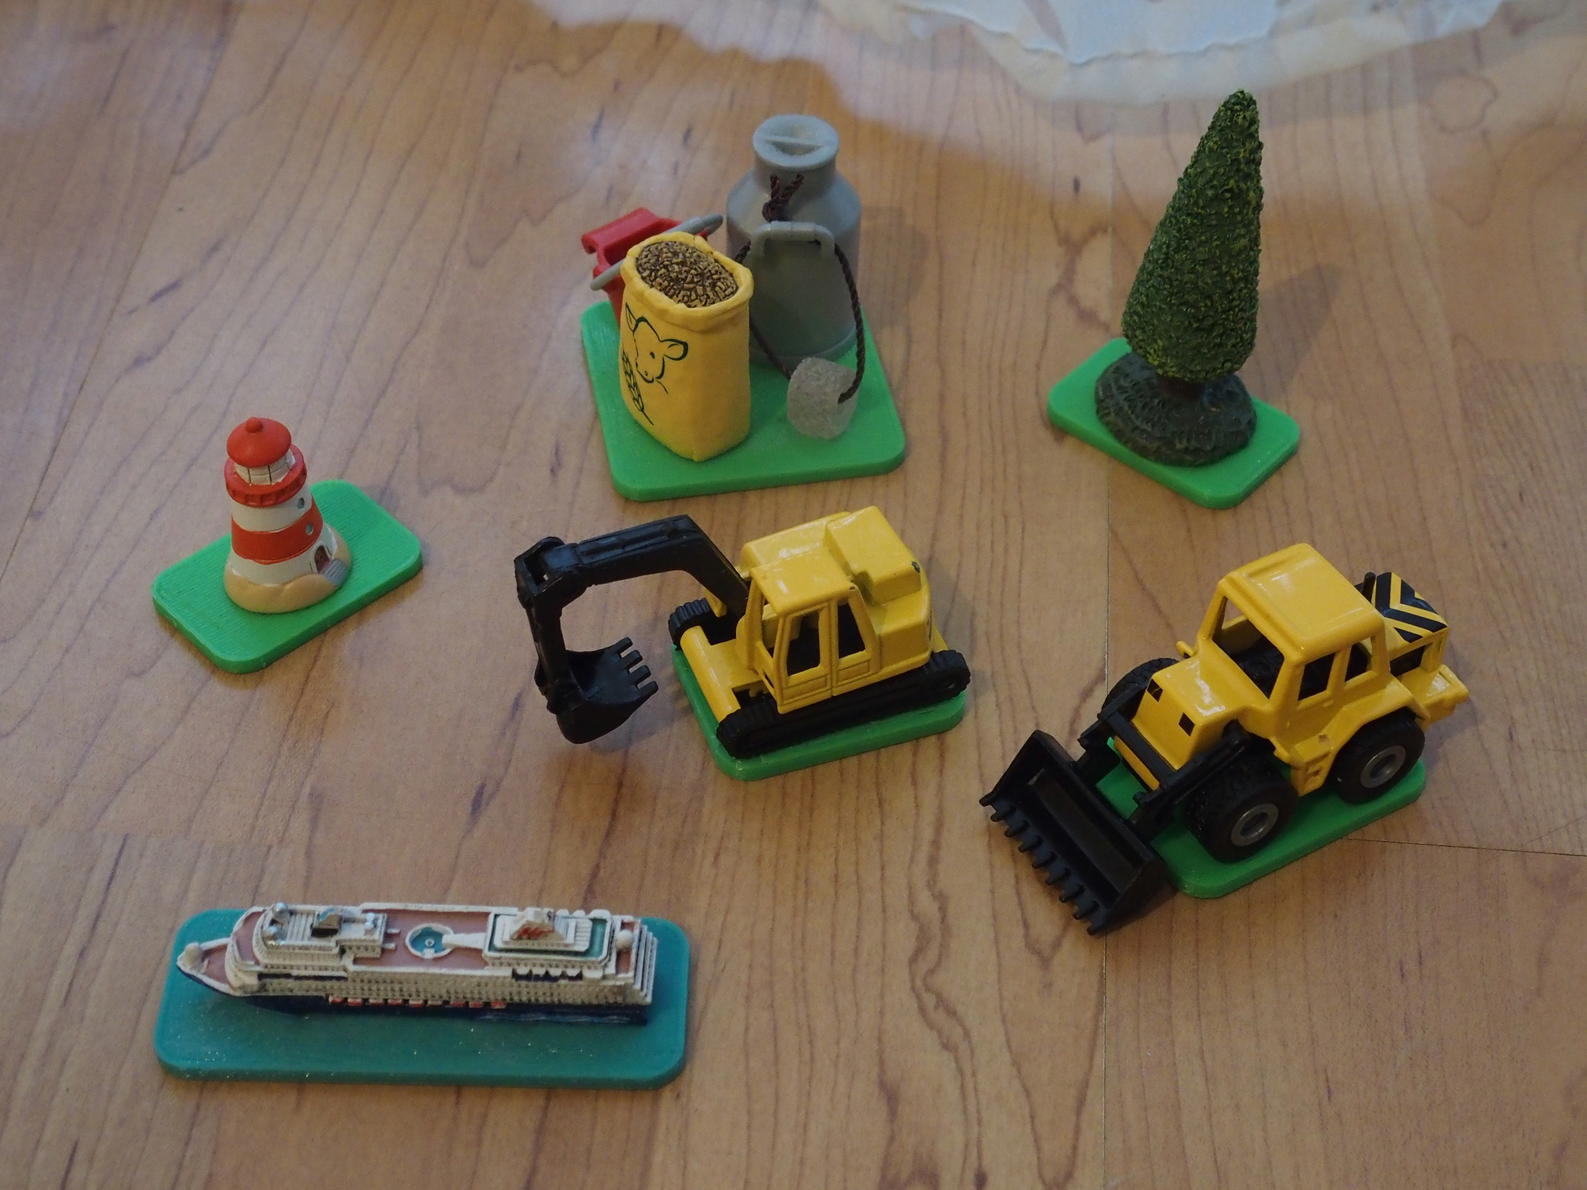
The kids now have access to animal sounds, non-fiction explanations (like the excavator), their favorite songs, fairy tales, TV songs, audio books (of which some are read by relatives) and season related content.